Guitar Cable Shielding: What It Is, Why It Matters, and What to Look For
Every guitar cable has a shield layer wrapped around the signal conductor. That shield is what keeps the 60-cycle hum from your power supply, the buzz from your stage lighting, and the radio frequency interference from your phone out of your guitar signal. Without it, you would hear every electrical device in the room through your amp.
Most players never look at or think about cable shielding. They plug in, and either the cable is quiet or it is not. But the type of shield inside your cable determines how well it rejects noise, how long the cable lasts under real-world use, and how flexible it feels in your hands. Not all shields are created equal, and the differences are not academic. They show up in your signal every time you plug in.
This guide breaks down the three main types of cable shielding, explains what each one does well and where it falls short, and covers what to look for when you are choosing a cable that needs to stay quiet for years.
What Cable Shielding Actually Does
Inside every instrument cable, the signal travels through a center conductor. That conductor is surrounded by an insulating layer called the dielectric. Outside the dielectric sits the shield, which is a conductive layer that wraps around the entire assembly. The outer jacket covers everything and protects it from physical damage.
The shield works by intercepting electromagnetic interference (EMI) before it reaches the center conductor. When an electromagnetic wave hits the shield, it induces a current in the shield rather than in the signal conductor. That induced current flows to ground through the cable connector, and your signal stays clean.
This is called the Faraday cage principle. The shield forms a conductive enclosure around the signal wire. As long as the enclosure is continuous and properly grounded, interference cannot reach the conductor inside. The quality of that enclosure depends on how much of the conductor the shield actually covers, how tightly the shield is constructed, and how well it maintains contact with itself along the length of the cable.
Coverage is measured as a percentage. A shield with 95% coverage has small gaps where the conductor is technically exposed. A shield with 100% coverage has no gaps. In practice, even a small gap in coverage can let high-frequency interference through, which is why the construction method matters so much.
The Three Types of Cable Shielding
Instrument cables use three main shielding constructions: braided, spiral (also called serve), and foil. Each has a different set of tradeoffs in coverage, flexibility, durability, and cost. Understanding the differences helps you pick the right cable for your use case instead of guessing based on price or brand name.
Braided Shields
A braided shield is made from fine strands of bare or tinned copper woven together in a crisscross pattern around the dielectric. The weave creates an interlocking mesh that provides excellent coverage, typically between 85% and 97% depending on the density of the braid.
Braided shields are the gold standard for noise rejection in instrument cables. The interlocking weave maintains contact with itself even when the cable bends, which means the shield stays effective during real-world use. You can coil the cable, step on it, wrap it around a mic stand, and the braid keeps doing its job.
The tradeoff is flexibility. A tightly braided shield makes the cable stiffer than other shielding methods. Dense braids also add weight and make the cable slightly thicker. For a long instrument cable running from your guitar to your amp, this stiffness can feel cumbersome on stage. For short patch cables on a pedalboard, it is a non-issue.
Braided shields are also the most expensive to manufacture. The weaving process is slower than applying spiral or foil shielding, which is why cables with braided shields tend to cost more. The durability and noise rejection justify the cost for professional and gigging use.
Mogami and Canare both use braided shields in their premium instrument cable lines. The Mogami W2524, used in their Gold Series instrument cables, features a braided copper shield. Canare GS-6 uses a spiral shield (see below), which achieves comparable performance with better flexibility.
Spiral (Serve) Shields
A spiral shield wraps strands of bare or tinned copper around the dielectric in a single direction, like thread on a spool. The strands sit parallel to each other in a helical pattern rather than weaving over and under like a braid.
Spiral shields offer excellent flexibility. Because the strands are not interlocked, the cable bends more easily and feels lighter in hand. This makes spiral-shielded cables the preferred choice for instrument cables where flexibility and handling matter, such as the cable between your guitar and your pedalboard.
Coverage on a well-made spiral shield typically falls between 85% and 95%. That is slightly less than a dense braided shield, but in practice the noise rejection is close to equivalent for the frequencies that matter in a guitar signal chain. The electromagnetic interference you encounter on stage and in the studio is overwhelmingly in the low-frequency range (60 Hz power line hum, lighting ballast buzz), and spiral shields handle those frequencies just as well as braids.
The main weakness of spiral shields is mechanical. If you pull the cable hard along its length, the spiral can open up and create gaps in coverage. This matters less during normal use and more during manufacturing and installation. A well-made spiral shield on a quality cable will not open up from being coiled, stepped on, or pulled during a performance.
Canare GS-6, the wire used in Forever Cables, uses a spiral shield with 95% coverage. It balances flexibility with noise rejection in a way that makes it ideal for both patch cables and longer instrument runs. The cable bends easily for tight pedalboard routing while still keeping the signal dead quiet.
Foil Shields
A foil shield is a thin sheet of aluminum or mylar-backed aluminum wrapped around the dielectric. It provides 100% coverage because the foil forms a continuous barrier with no gaps between strands.
On paper, that 100% coverage sounds ideal. In practice, foil shields have serious limitations for instrument cables. The foil is fragile. It tears when the cable is bent sharply, crushed, or flexed repeatedly. Over time, the foil develops cracks and micro-tears that break the continuous barrier and reduce its effectiveness. A foil shield that starts at 100% coverage can degrade to well below 90% after a few months of regular gigging.
Foil shields are also poor at handling low-frequency interference. They excel at blocking high-frequency RF noise (which is why they are common in data cables and microphone cables), but the 60 Hz hum and lighting buzz that plague guitar rigs fall in the range where foil shields are weakest.
The main advantage of foil shielding is cost. It is the cheapest shielding method to manufacture, which is why it appears in budget instrument cables. If a cable costs under $10 and claims "shielded construction," it almost certainly uses foil. That foil shield will work fine sitting flat on your desk at home. It will not hold up to being coiled and uncoiled every weekend, thrown in a gig bag, and yanked out by the connector.
Some mid-range cables combine a foil shield with a spiral or braided drain wire. This hybrid approach offers better coverage than foil alone while keeping costs lower than a full braid. It is a reasonable compromise for home studio use but still falls short of a dedicated spiral or braided shield for stage work.
How Shielding Interacts with Cable Length
Longer cables are more susceptible to noise pickup because they present a larger antenna to the electromagnetic environment. A 3-foot patch cable on your pedalboard is picking up interference across 3 feet of exposure. A 20-foot cable from your guitar to your amp is picking up interference across 20 feet.
This is why shielding quality matters more as cable length increases. A short patch cable with mediocre foil shielding might be perfectly quiet because there simply is not enough length for meaningful noise pickup. That same shielding on a 20-foot cable will be noticeably noisier because the longer exposure length collects more interference.
For pedalboard patch cables (6 to 18 inches), any decent shielding will be quiet enough. The lengths are so short that differences between shield types are negligible in practice. But use quality shielding anyway, because patch cables also need to survive being routed in tight spaces and flexed during board setup.
For instrument cables (10 feet and longer), shielding quality becomes critical. This is where the difference between foil and braided or spiral shields becomes audible. A 15-foot foil-shielded cable in a venue with stage lighting dimmers will pick up enough buzz to be distracting. The same length in spiral or braided shield will be dead quiet.
Shielding and Capacitance: The Hidden Tradeoff
The shield contributes to the cable's capacitance. Capacitance is a function of the distance between the center conductor and the shield, the diameter of each, and the dielectric constant of the insulating material between them. More shield coverage and tighter construction can increase capacitance slightly.
Higher capacitance rolls off treble frequencies. The cable acts as a low-pass filter, and with passive guitar pickups (high output impedance), this effect is audible. Players hear it as a loss of sparkle or high-end definition.
Well-designed instrument cables manage this tradeoff carefully. Canare GS-6, for example, has a capacitance of approximately 34 picofarads per foot, which is low enough to preserve treble clarity on cables up to 20 feet while still providing dense shielding. Cheap cables often have both poor shielding and high capacitance, meaning you get the worst of both worlds: more noise and less treble.
The takeaway is that good shielding does not have to mean high capacitance. Cable designers can control capacitance through the choice of dielectric material and the geometry of the conductor and shield. A cable with excellent shielding and low capacitance is not a contradiction; it is a sign of good engineering.
What to Look For When Buying
First, check the shielding type. The manufacturer should specify whether the cable uses braided, spiral, or foil shielding. If the listing does not mention shielding type at all, it is almost certainly foil. Quality cable makers are proud of their shielding and will tell you exactly what is inside.
Second, look at the shield material. Bare copper and tinned copper are both good choices. Tinned copper resists oxidation better over time, which helps maintain consistent shielding performance as the cable ages. Aluminum shields (common in foil constructions) are lighter but less conductive and more fragile.
Third, check the coverage percentage if available. For instrument cables, 90% or higher is a solid target. Anything below 85% is likely to let audible noise through in electrically noisy environments.
Fourth, consider the cable's overall construction, not just the shield. A great shield paired with a cheap connector will still fail at the solder joint. A great shield paired with a stiff, thick jacket will be miserable to use on stage. The shield is one part of a system that includes the conductor, dielectric, connectors, and jacket.
Finally, do not confuse shielded with double-shielded. Some manufacturers market "double shielded" cables that combine foil and a sparse spiral. In many cases, a single well-made spiral or braided shield outperforms a dual-layer construction where both layers are thin. More layers do not automatically mean better noise rejection.
The Shield You Never Think About
The best compliment a cable shield can get is that you never notice it. A well-shielded cable is simply quiet. You plug in, you play, and the only thing coming through your amp is your guitar. No hum when you stand near the lighting rig. No buzz when your phone sits on top of your pedalboard. No crackle when you move across the stage.
That silence is not an accident. It is the result of a shield layer that was designed, built, and tested to block interference across the full range of frequencies you will encounter in the real world. It is the result of a cable that was built to maintain that shielding performance after hundreds of gigs, thousands of coil-and-uncoil cycles, and years of being thrown in a gig bag.
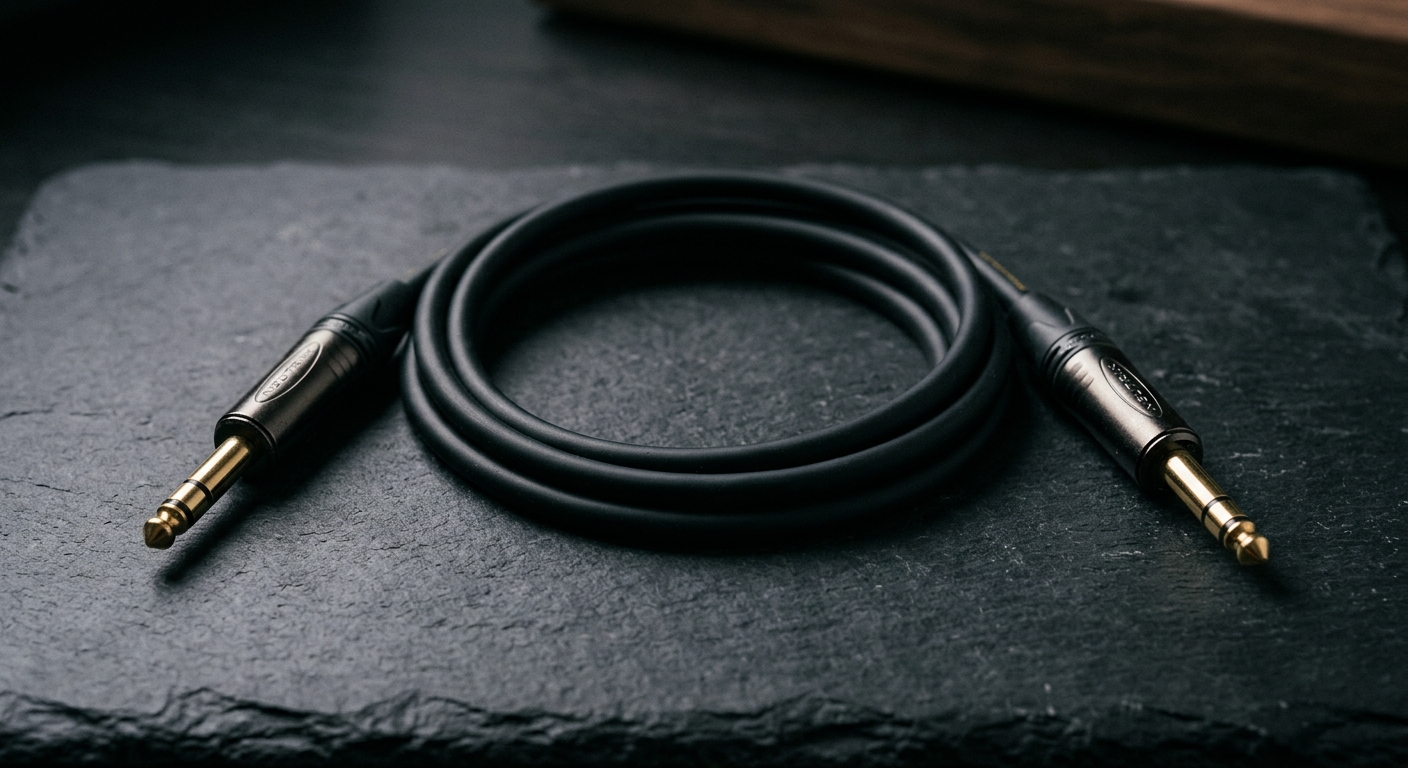
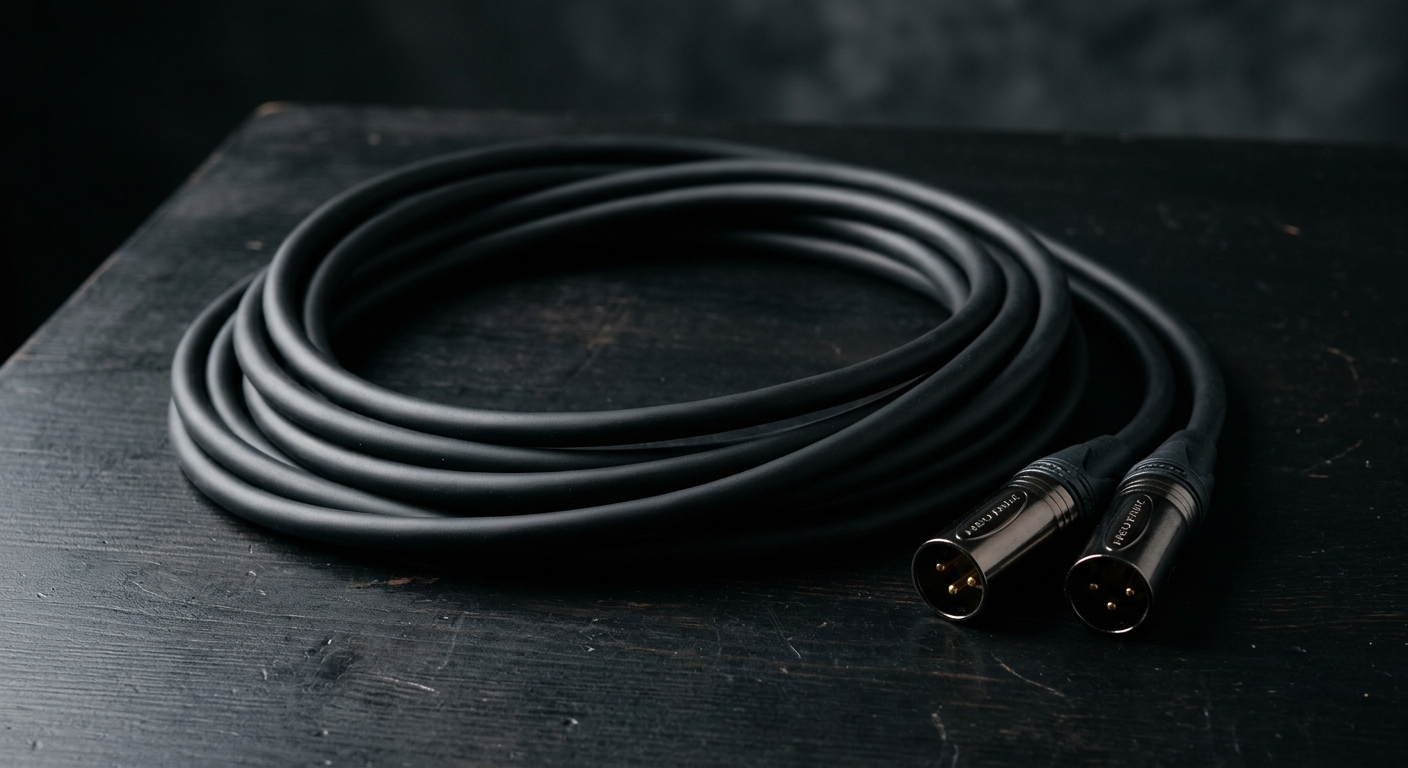
Forever Cables are built with Canare GS-6 wire, which uses a spiral copper shield with 95% coverage. That shield, combined with low-capacitance construction and hand-soldered Neutrik connectors, delivers a cable that stays dead quiet from your first gig to your thousandth. Every cable carries a lifetime guarantee. If it ever fails, we replace it.
Built for This
Forever Cables use Canare GS-6 wire with a spiral copper shield, hand-soldered Neutrik connectors, and a lifetime guarantee. Build your signal chain on cables that stay quiet for life.
Stay in the loop
New gear guides, limited promos, and launch updates. No spam.