How to Choose the Right Patch Cable Lengths for Your Pedalboard
One of the most common pedalboard mistakes is ordering the wrong cable lengths. Too short and you are stretching connections that create mechanical stress on jacks. Too long and you have a rat's nest of slack that is a nightmare to manage, and you are introducing unnecessary cable length into your signal chain.
Getting the lengths right is not complicated, but it does require a bit of planning. This guide walks you through exactly how to figure out what you need.
Why Cable Length Matters (More Than You Think)
Before we get into measurements, it is worth understanding why cable length is not just a tidiness issue.
Signal quality: every foot of cable is a tiny low-pass filter. The higher the capacitance rating of the cable, the more high-frequency content it rolls off. Most quality cables are spec'd at around 30-35 pF per foot. At patch cable lengths (3 inches to 24 inches), this is negligible. But adding unnecessary slack means adding unnecessary capacitance.
On a pedalboard with a dozen pedals connected by longer-than-needed cables, that capacitance adds up. Players who switch from random cable lengths to properly fitted patch cables often comment that their high end opens up. It is not imagination. It is physics.
Strain relief: a cable that is too short puts constant tension on the connector barrel and the pedal's input/output jack. Over months and years, this tension works the jack loose from the pedal chassis or fatigues the solder joint inside the connector. A cable with just a little slack sits naturally without pulling.
Board aesthetics and maintenance: a board with well-fitted cables is faster to troubleshoot, easier to clean, and easier to reconfigure if you swap a pedal.
Side-by-Side Pedals (3 to 6 Inches)
When the output of one pedal is directly next to the input of the next, and those connections are on the same edge of each pedal, you need your shortest cables.
For pedals mounted end-to-end on a single row, the connection typically only needs to travel 3 to 6 inches. Most side-by-side connections on compact boards like the Pedaltrain Nano or Metro 16 fit a 3-inch or 4-inch cable comfortably.
The exception is when the output of one pedal and the input of the next are on opposite ends of those pedals. In that case you may need 8 to 12 inches.
Same-Row but Spaced-Out Connections (6 to 12 Inches)
If you have pedals with unusual jack placement (top-mounted jacks, for example, or jacks recessed inside a wide chassis), or if there is a gap between pedals, you typically need 6 to 12 inches.
Wah pedals, volume pedals, and expression pedals often have unusual form factors that push their jacks farther from where you would expect. Measure before you order.
Cross-Row Connections (12 to 24 Inches)
If your board has two rows and you need to route signal from the back row to the front row (or front to back), you typically need 12 to 24 inches. Some double-row setups with taller risers or unusual routing may need up to 36 inches.
Measure the actual routing path, not the straight-line distance. If the cable has to go around a power supply, over a riser, or through a cable channel, the effective length is longer than it looks.
How to Measure Before You Order
The most reliable way to measure patch cable lengths is with a piece of string.
With your board laid out the way you want it, run a piece of string from the output jack of one pedal to the input jack of the next, following the path the cable will take (around obstacles, through channels, with enough slack to not pull tight). Mark the string at each jack end. Measure the string. Add about 1/2 inch to account for the connector body inserting into the jack.
Do this for every connection on your board before you order anything. Write down the measurements. Then round up to the nearest available cable length, not down. A cable that is 1 inch longer than ideal is fine. A cable that is 1 inch shorter will be a problem every time you plug it in.
Common Pedalboard Sizes and What They Usually Need
If you do not want to measure every connection, here is a rough guide by board size.
Compact boards (Pedaltrain Nano, Ditto Looper size): 2 to 4 cables at 3 to 6 inches. Usually no cross-row runs.
Medium boards (Pedaltrain Metro 24, Holeyboard Standard): 4 to 8 cables at 3 to 12 inches, plus 1 to 2 cross-row cables at 15 to 20 inches.
Large boards (Pedaltrain Classic 2, Temple Audio Duo 34): 6 to 12 cables, mix of 3 to 6 inch, 6 to 12 inch, and 18 to 24 inch depending on layout. Cross-row runs often 20 to 36 inches.
The Case for Going Shorter
When in doubt between two lengths, go shorter.
A cable with appropriate slack lasts longer because it is not under constant tension. It contributes less capacitance. It looks cleaner. And on a dense board, shorter cables are easier to route without snagging adjacent connections.
The only argument for going longer is future-proofing a board layout. If you think you might move a pedal six months from now, a cable with a bit of extra length gives you options. But if your board is stable, fit to your actual layout.
Forever Cables Available Lengths
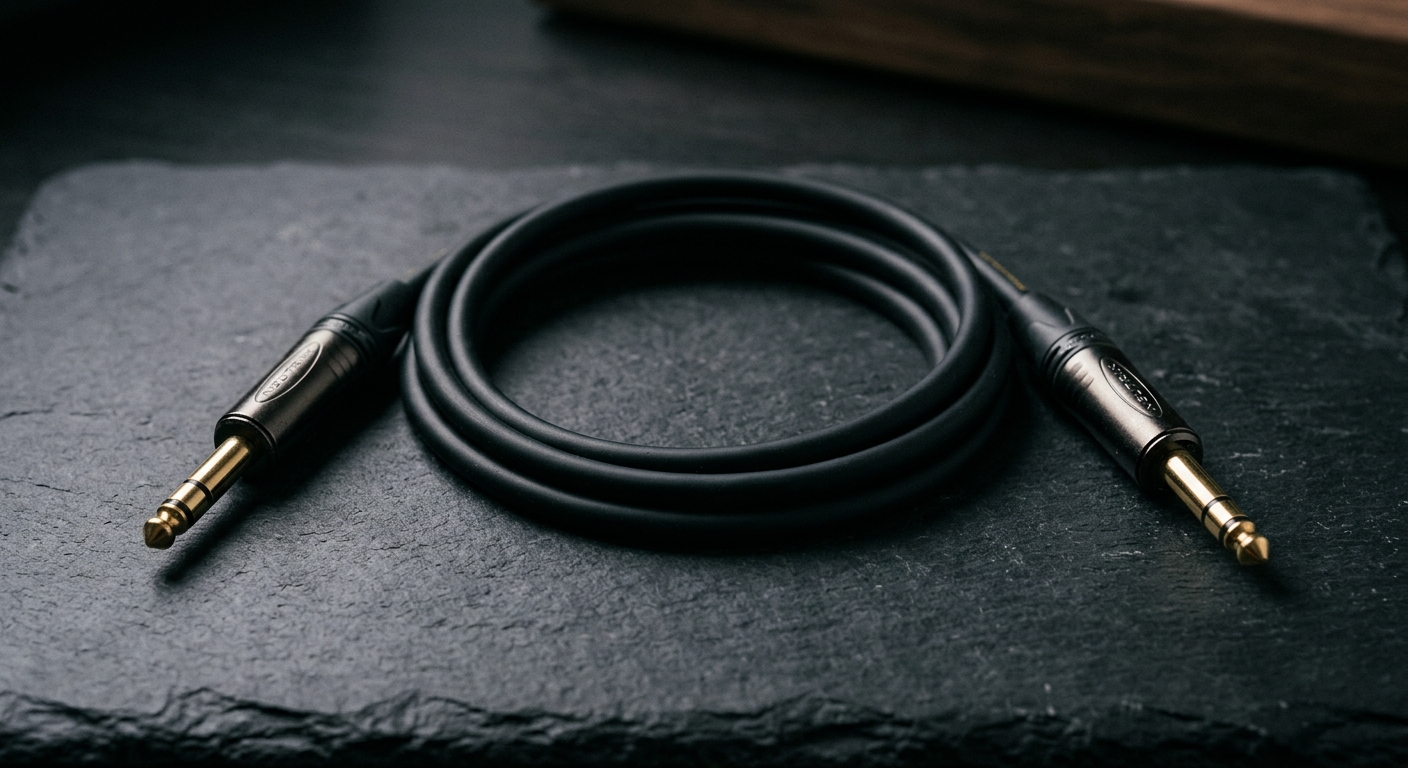
Our Stage Cable patch cables are available in 10ft, 15ft, and 20ft configurations for running between your board and amp or between rigs. For pedal-to-pedal patch connections within your board, our Workhorse and Right Angle cables cover the typical range.
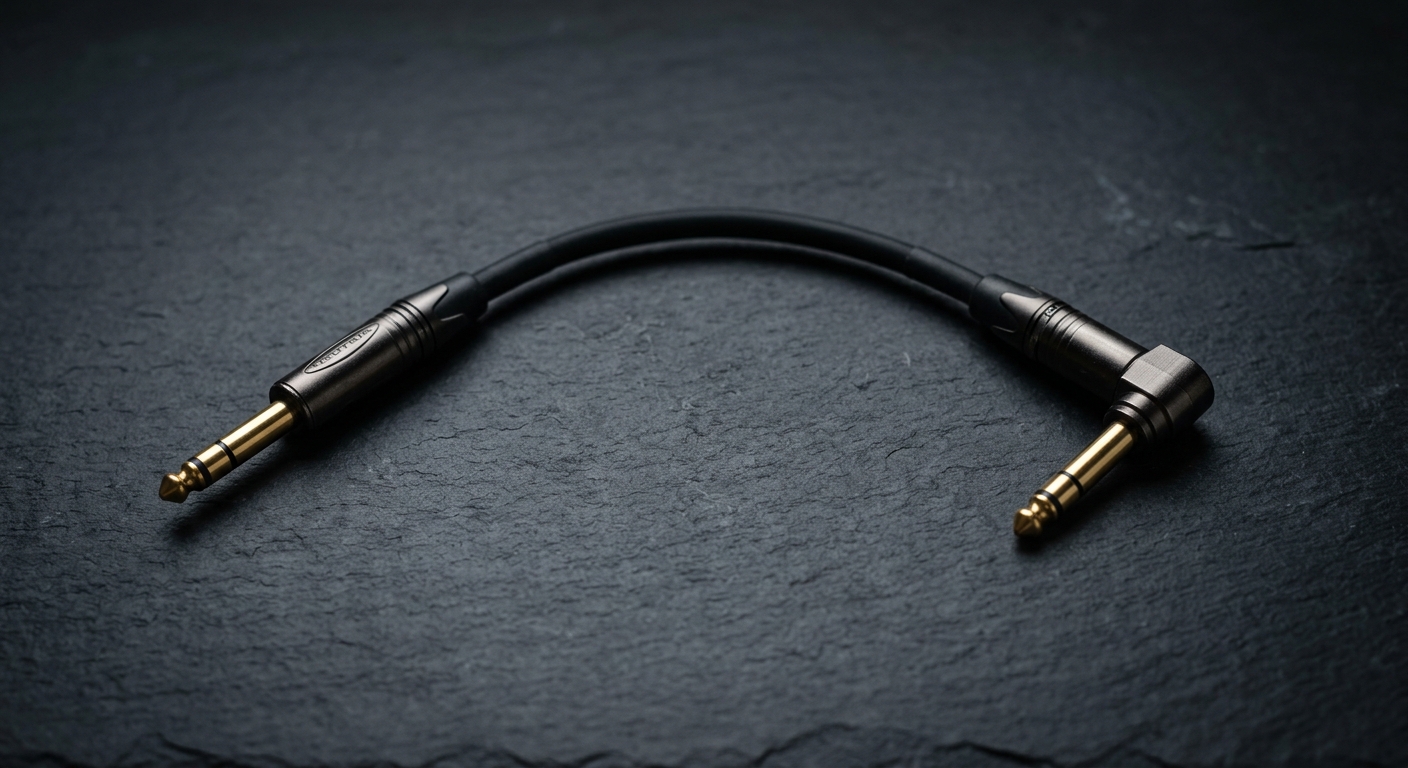
Right Angle cables are particularly useful for side-by-side pedal connections where space is tight: the angled connector sits flush against the pedal face instead of projecting outward, which saves clearance on crowded boards.
If you are not sure what you need after measuring, reach out. We are happy to help you figure out the right cables for your specific setup.
Built for This
Every Forever Cable is handmade to order. Need help figuring out the right lengths for your setup? Get in touch.
Stay in the loop
New gear guides, limited promos, and launch updates. No spam.