Pedalboard Cable Length Guide: How to Pick the Right Length for Every Pedal
If you've ever built a pedalboard, you know the struggle: too-long patch cables turn your board into a tangled mess, while too-short cables force you into awkward pedal spacing. Getting cable length right isn't just about aesthetics (though a clean board does look incredible). The right cable lengths actually protect your tone, reduce noise, and make your entire rig more reliable.
In this pedalboard cable length guide, we'll walk through exactly how to measure pedal spacing, which cable lengths to use for different scenarios, and how to avoid the most common mistakes that guitarists make when wiring their boards.
Why Cable Length Matters on a Pedalboard
Cable length affects three critical aspects of your pedalboard performance:
Tone preservation. Every foot of cable adds capacitance to your signal chain. Excess capacitance acts like a low-pass filter, gradually rolling off your high frequencies. While the effect is subtle with quality cables, using a 24-inch patch cable where a 6-inch cable would work means you're adding unnecessary capacitance for no reason. Over 8-10 pedals, that adds up.
Clutter and cable management. Long cables that you have to loop back create physical clutter on your board. They take up valuable real estate, make it harder to access knobs, and increase the risk of accidentally unplugging something mid-performance. Properly sized cables lie flat, stay out of the way, and keep your board looking professional.
Ground loops and noise. Excessive cable loops can create inductive coupling between cables, which introduces hum and noise into your signal. While shielded cables help, the best solution is using the shortest practical cable for each connection. Less cable means less opportunity for interference.
How to Measure the Distance Between Pedals
Before you buy patch cables, you need to know the actual distances you're working with. Here's the tape measure method that professionals use:
Arrange your pedals on the board in their final positions. Don't guess or eyeball it. Actually place the pedals where they'll live, accounting for velcro, power cables, and any risers or mounting hardware you're using.
Measure jack-to-jack, not pedal-to-pedal. Start your measurement at the center of the output jack on the first pedal and measure to the center of the input jack on the next pedal. This is the actual cable path, not just the gap between pedal enclosures.
Add routing slack. Cables rarely run in a perfectly straight line. Add 1-2 inches to account for the natural arc that patch cables make and any minor routing adjustments. For example, if the jack-to-jack distance is 4 inches, a 6-inch cable will work perfectly.
Map your entire signal chain. Create a simple sketch or spreadsheet listing each connection and its measured distance. This becomes your shopping list.
Pro tip: take a photo of your board layout with a ruler in frame. You can reference this later if you need to order additional cables or troubleshoot spacing issues.
Common Cable Lengths: When to Use Each
Quality patch cable manufacturers (including Forever Cables) typically offer cables in standard increments. Here's when to use each length:
3-Inch Patch Cables
Perfect for pedals placed side-by-side with minimal spacing. This is ideal for compact mini-pedals or when you've packed pedals tightly on a small board. The 3-inch length keeps everything ultra-clean but requires precise pedal placement.
Best for: mini pedals, ultra-compact boards, pedals with top-mounted jacks placed directly adjacent.
6-Inch Patch Cables
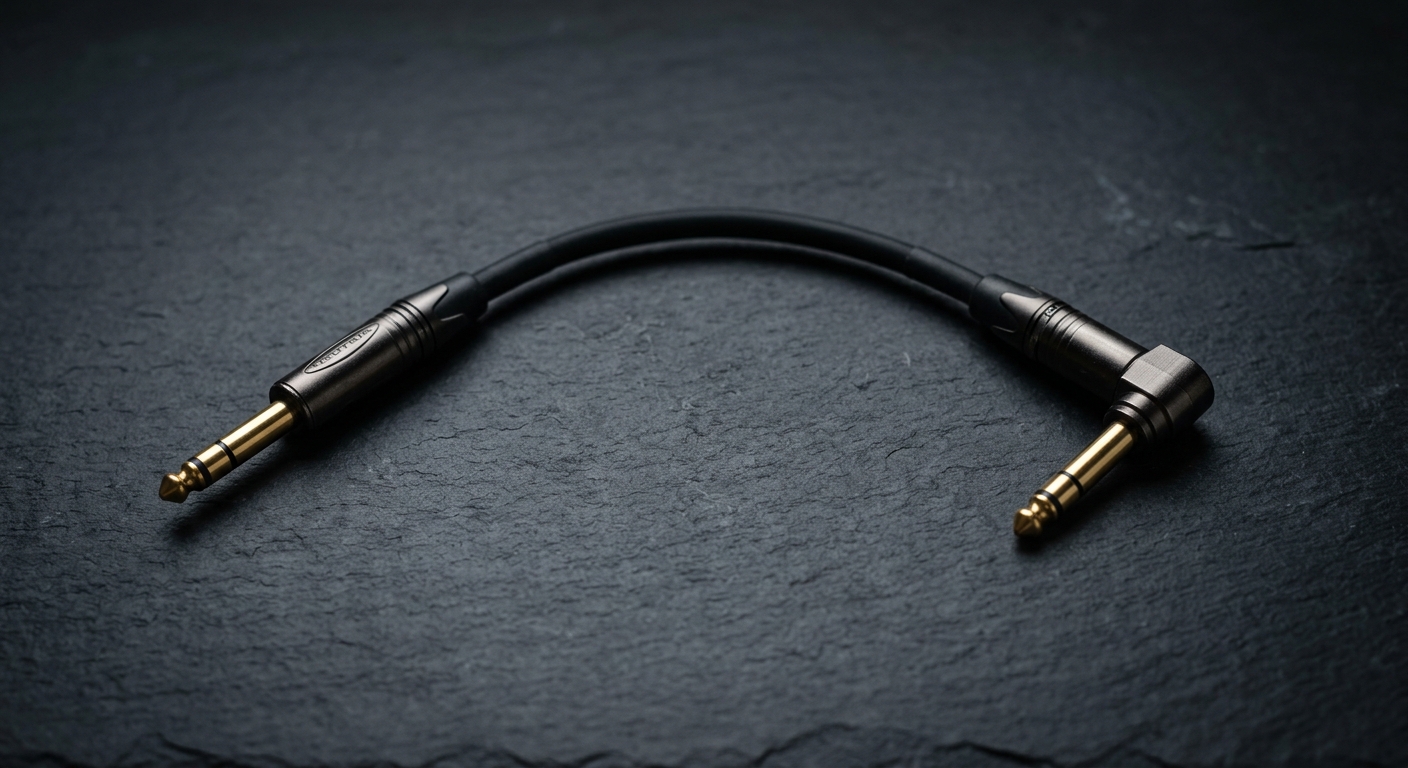
The workhorse length for most pedalboards. A 6-inch cable handles standard spacing between regular-sized pedals (like Boss, MXR, or Electro-Harmonix enclosures). This length gives you a little routing flexibility while still maintaining a tidy appearance.
Best for: standard pedal spacing (3-4 inches between enclosures), most connections on small to medium boards.
9-Inch Patch Cables
Use these when you have slightly wider spacing or need to route around obstacles. A 9-inch cable works well when pedals are separated by 5-6 inches, or when you need to route a cable around another pedal or power supply.
Best for: wider spacing on medium boards, routing around power supplies, connecting pedals in different rows.
12-Inch Patch Cables
This length handles substantial gaps between pedals or connections that span across different sections of your board. You might use a 12-inch cable to connect your drive section to your modulation section when they're physically separated.
Best for: large spacing (7-9 inches), cross-board connections, connecting different functional sections.
18-Inch Patch Cables
Less common for standard pedalboard use, but valuable for specific scenarios. An 18-inch cable can connect pedals on opposite ends of a medium board or link your main board to a satellite board or external switcher.
Best for: opposite-end connections on medium boards, linking to expression pedals, satellite board connections.
24-Inch Patch Cables
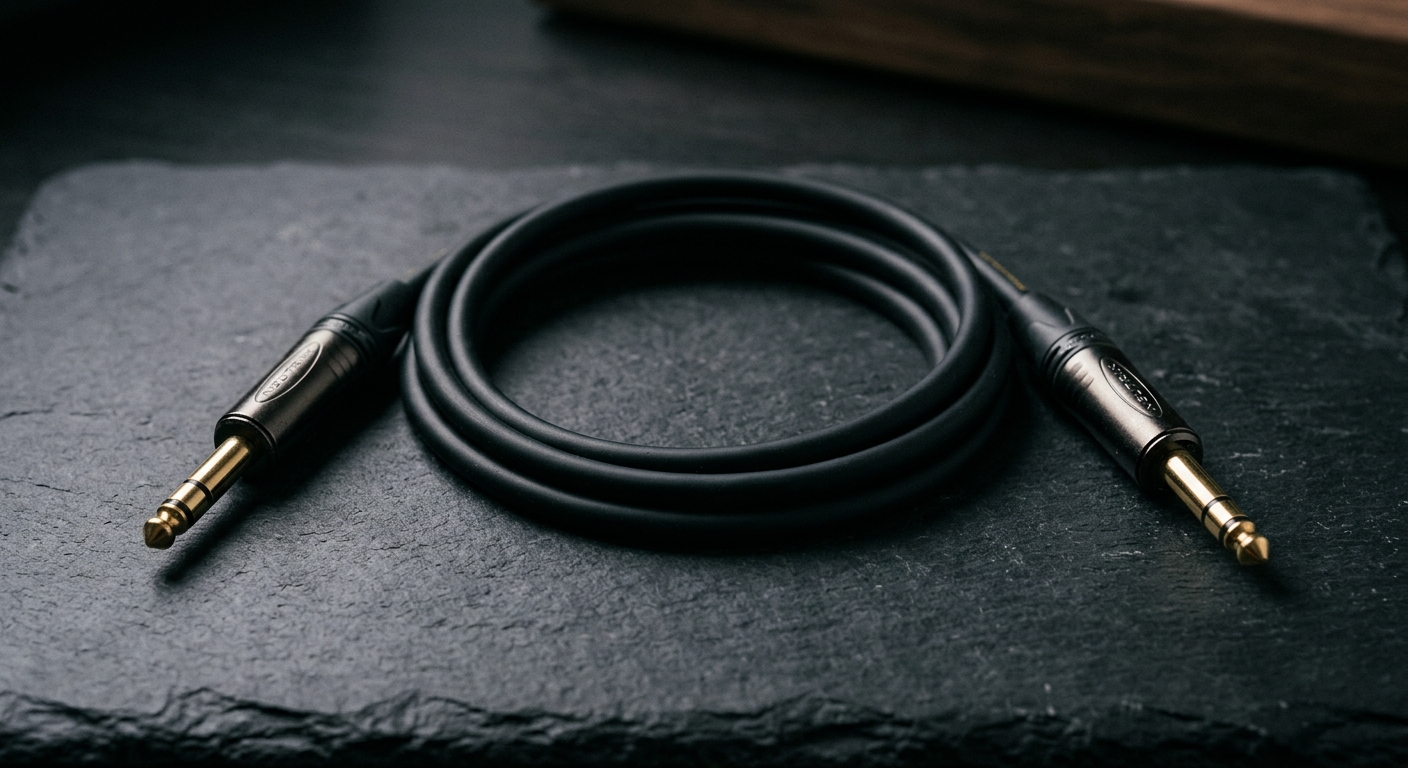
The longest practical patch cable for most pedalboards. Use these sparingly, typically only for connecting your pedalboard to an amp (pedal output to amp input) or for linking completely separate board sections.
Best for: board-to-amp connections, separate board linking, special routing situations.
For complete guidance on organizing these cables once you've chosen the right lengths, check out our post on <a href="/blog/how-to-organize-pedalboard-cables">how to organize pedalboard cables</a>.
Board-Size Guide: Cable Length Distribution by Pedalboard Size
Different board sizes require different cable length strategies. Here's what to stock for each:
Small Boards (4-6 Pedals)
Recommended cable inventory: 4-6 six-inch cables (primary connections), 2 three-inch cables (tight spots), 1 twelve-inch cable (flexibility).
Small boards typically use uniform spacing, so you'll mostly use 6-inch cables. Keep a couple of shorter options for any mini pedals and one longer cable for flexibility.
Medium Boards (8-12 Pedals)
Recommended cable inventory: 6-8 six-inch cables (standard spacing), 3-4 nine-inch cables (section transitions), 2-3 three-inch cables (compact areas), 2 twelve-inch cables (cross-board connections).
Medium boards often have distinct sections (gain staging, modulation, time-based effects), which means you'll need varied lengths to connect sections while keeping tight spacing within each section.
Large Boards (15+ Pedals)
Recommended cable inventory: 8-10 six-inch cables (standard spacing), 6-8 nine-inch cables (section connections), 4-5 three-inch cables (tight areas), 3-4 twelve-inch cables (long runs), 1-2 eighteen-inch cables (special routing).
Large boards require careful planning. You'll use the full range of cable lengths to create logical signal flow while maintaining clean cable management. Consider our <a href="/blog/pedalboard-cable-management-wiring-guide">pedalboard cable management wiring guide</a> for advanced techniques on managing complex setups.
The Hidden Cost of Too-Long Cables
Here's what many guitarists don't realize: using cables that are too long doesn't just look messy; it actually degrades your tone.
The capacitance problem. Every cable has capacitance, which is the cable's ability to store an electrical charge. Higher capacitance creates a low-pass filter effect that progressively rolls off high frequencies. While a single too-long cable might only cause a barely perceptible difference, the effect compounds across your entire signal chain.
For example: if you use 12-inch cables where 6-inch cables would work, and you have 8 pedals, you've effectively added an extra 4 feet of cable to your signal path. With typical patch cable capacitance of 30-50 pF/ft, that's an additional 120-200 pF of capacitance stealing your high end.
The signal degradation math. Your guitar's pickups typically have an output impedance of 5-15k ohms. Combined with cable capacitance, this creates a simple RC low-pass filter. Every unnecessary foot of cable lowers the frequency where your tone starts to roll off.
The solution? Use the shortest cable that works for each connection. If a 6-inch cable reaches comfortably, don't use a 9-inch cable "just to be safe." Your tone will thank you.
Quality matters even more with short cables. When you're using multiple short patch cables, cable quality becomes critical. Poor shielding, cheap connectors, and inadequate wire gauge will degrade your signal faster than cable length ever could. That's why Forever Cables uses premium components in every patch cable; when you're connecting 10+ pedals, quality compounds just like capacitance does.
Buying Tip: Stock Short Cables, Not Long Ones
Here's the mistake almost every guitarist makes when first building a pedalboard: buying mostly long cables "for flexibility."
The logic seems sound: a long cable can always reach, right? But here's why this backfires:
Long cables create problems you can't solve. If you buy a 12-inch cable for a 4-inch gap, you now have 8 inches of excess cable to manage. You can loop it, coil it, or try to hide it, but it's always going to add clutter, create potential noise issues, and generally make your board look amateur.
Short cables solve themselves. If you have a 6-inch cable and discover you need 9 inches, that's a $10-15 problem with a clear solution: buy one more cable in the right length. But if you have eight 12-inch cables creating cable spaghetti on your board, fixing that means replacing most of your cables, a much more expensive proposition.
The smart buying strategy: Measure your board carefully using the method described above. Buy the exact lengths you need based on your measurements. Add 2-3 extra cables in the 6-inch range (the most common length). Add 1-2 extra cables in the 9-inch range. Keep one 12-inch cable as a "universal backup."
This approach ensures you have exactly what you need for your current setup, plus enough flexibility to handle minor layout changes or add a new pedal without starting from scratch.
At liferline.com, we offer multi-packs that include assorted short lengths; this gives you the variety you need without the clutter of too-long cables. Our Forever Cables patch cables come in every standard length with premium components and reliable connectors that won't fail mid-gig.
Building a Future-Proof Cable Collection
Your pedalboard will evolve. You'll try new pedals, reorganize your signal chain, and experiment with different layouts. Here's how to build a patch cable collection that grows with your board:
Start with your current board. Buy exactly what you need for your current setup. Don't try to anticipate every future possibility.
Add strategically as you change. When you add or rearrange pedals, buy the 1-2 new cables you need in the specific lengths required. Over time, you'll naturally accumulate a useful variety.
Replace worn cables immediately. Patch cables take abuse; constant plugging and unplugging wears out connectors. Replace failing cables with the same length to maintain your clean cable management.
Standardize on quality. Use the same cable brand and connector type across your board. This creates visual consistency and ensures reliable performance. It also means your spare cables work anywhere on your board without adapter headaches.
Keep a "tour kit" separate. If you perform regularly, maintain a separate set of spare patch cables in common lengths (6", 9", 12"). Keep these in your gig bag for emergency repairs. Never cannibalize cables from this kit for your home pedalboard.
Final Thoughts: Measure Twice, Buy Once
The secret to perfect patch cable lengths isn't buying every length imaginable; it's measuring carefully and buying intentionally. Take the time to plan your board layout, measure each connection accurately, and choose cables that fit your actual needs rather than imagined future scenarios.
Your tone, your cable management, and your wallet will all benefit from using the right length cable for every connection. And when you're ready to upgrade to professional-quality patch cables that protect your tone and survive the road, explore the Forever Cables collection at <a href="/products">liferline.com/products</a>.
A clean, well-cabled pedalboard isn't just easier on the eyes; it's easier on your signal, easier to troubleshoot, and easier to modify as your needs evolve. Start with good measurements, invest in quality cables, and always choose the shortest cable that reaches comfortably.
Your perfect pedalboard tone is hiding in the details. Cable length is one of those details that separates amateur rigs from professional setups. Get it right, and everything else gets easier.
Built for This
Forever Cables come in every standard patch cable length, built with premium wire, hand-soldered connectors, and backed by our lifetime guarantee. Measure your board, pick your lengths, and never worry about cable failure again. Build your perfect pedalboard at liferline.com.
Stay in the loop
New gear guides, limited promos, and launch updates. No spam.