Guitar Cable Hum and Noise: How to Diagnose and Fix the Root Cause
If you've ever plugged into an amp and heard that annoying buzz or hum creeping into your signal, you're not alone. Hum and buzz are the number one complaint from guitarists at every skill level, from bedroom players to touring professionals. That persistent 60Hz drone or high-frequency static can ruin a recording session, kill your tone on stage, and drive you absolutely crazy when you're trying to practice.
The good news? Most hum and noise issues are fixable once you understand where they come from. The bad news? There are multiple potential culprits, and figuring out which one is causing your problem requires a systematic approach. In this guide, I'll walk you through the diagnostic process I've used hundreds of times as a guitar tech, explain what actually causes these noises, and show you how to eliminate them for good.
Understanding the Two Types of Noise
Before you start swapping cables and pedals, you need to understand what you're hearing. Not all noise is created equal, and the type of noise you're experiencing points directly to its cause.
**60Hz Hum:** This is that low, droning buzz you hear when nothing is plugged in or when you touch the strings and the noise gets quieter. It's a pure tone at 60 cycles per second (50Hz in some countries), which is the frequency of your wall power. This type of hum usually indicates a grounding problem, whether that's a ground loop, a lifted ground somewhere in your signal chain, or interference from nearby power transformers and wiring.
**Higher-Frequency Buzz and Static:** This is the harsher, more aggressive noise that sounds like radio interference, electrical crackling, or a swarm of angry bees. It can change when you move around, gets worse near certain equipment, or comes and goes unpredictably. This is electromagnetic interference (EMI) or radio frequency interference (RFI), and it's caused by poorly shielded cables picking up stray signals from computers, LED dimmers, power supplies, cell phones, or even fluorescent lights.
Most guitarists experience some combination of both. The key is isolating which type is dominant, because the fixes are different.
Common Causes of Guitar Cable Hum
Let's run through the usual suspects. Over the years, I've traced hum problems to all of these sources:
**Bad or Low-Quality Cables:** This is the most common culprit, and fortunately, the easiest to fix. Cheap cables have inadequate shielding, poor solder joints, and connectors that work themselves loose over time. The shielding (that conductive wrap around the inner conductor) is what keeps external interference out of your signal. When it's damaged, sparse, or poorly connected to the ground, your cable becomes an antenna for every stray electromagnetic field in the room.
**Ground Loops:** A ground loop happens when multiple devices in your signal chain are grounded through different paths, creating a loop that AC current can flow through. That current induces the 60Hz hum you hear. Pedalboards with multiple power supplies, racks with gear powered from different outlets, or stage setups where your amp and PA system are on different circuits all create opportunities for ground loops.
**Single-Coil Pickups:** If you play a Strat, Tele, or any guitar with traditional single-coil pickups, some hum is just part of the deal. Single-coils are inherently sensitive to electromagnetic interference because of their design. They're essentially little antennas. Humbuckers (the name literally means "hum bucker") were invented specifically to cancel out this interference, but many of us love the clarity and snap of single-coils and accept the tradeoff.
**Poor Quality Power Supplies:** Cheap wall-wart power supplies for pedals are notorious hum generators. Many of them aren't properly filtered or isolated, and they inject noise directly into your pedalboard. Daisy-chaining pedals off a single underpowered supply makes it worse, because you're creating ground loops between pedals and starving them of clean power.
**Damaged or Poorly Maintained Gear:** Loose jacks on your guitar, corroded potentiometers, cold solder joints in your amp, or even a dying tube can all introduce noise. These problems are less common than cable and power issues, but they're worth checking if you've ruled out the obvious stuff.
The Step-by-Step Diagnostic Process
Here's the systematic approach I use to track down hum and noise. Don't skip steps, even if you think you know what the problem is. I've seen too many guitarists waste money replacing gear when all they needed was a better cable.
Step 1: Swap Your Cable First
Start with the simplest possible test: plug your guitar directly into your amp with a cable you trust (or better yet, a brand new cable). Turn up the volume on both the guitar and amp to where you'd normally play. Listen.
If the hum disappears, your original cable was the problem. If the hum persists, move to step 2.
Don't just swap the cable; inspect it. Look for kinks, places where the jacket is compressed or damaged, and wiggle the connectors at both ends while listening. A cable that crackles or cuts out when you move the connector has a broken connection inside and needs to be replaced.
Step 2: Isolate Your Guitar
With your good cable still connected, turn the volume on your guitar all the way down. If the hum goes away, the source is your guitar's pickups or electronics. If it stays, the problem is downstream: your amp, a ground loop, or environmental interference.
Now turn your guitar volume back up and touch the strings, bridge, or any metal part on the guitar. If the hum gets quieter, your guitar isn't properly grounded internally. This is a common issue with vintage guitars or cheap imports where the ground wire from the bridge has come loose.
Step 3: Add Your Pedalboard Back In
If your guitar and cable check out, start adding pedals back into the chain one at a time. Power them individually first with batteries if possible, or with an isolated power supply. Listen after adding each pedal.
When the hum appears, you've found your problem pedal or power supply. If it's a power supply issue, you'll usually hear the hum jump in volume when you plug in the power. If it's the pedal itself, the hum will appear whether it's on battery or wall power.
Step 4: Check for Ground Loops
If you have multiple pedals powered from the same supply, or your amp and pedalboard are plugged into different outlets, try running everything from a single power strip. If the hum goes away, you had a ground loop.
Another test: lift the ground on your amp using a 3-prong to 2-prong adapter (the kind with the little metal tab). If the hum disappears, you definitely have a ground loop. **Do not leave the ground lifted permanently.** This is a diagnostic tool only; playing with an ungrounded amp is a shock hazard. The proper fix is an isolated power supply for your pedalboard or a power conditioner that eliminates the loop safely.
Step 5: Rule Out Environmental Interference
Walk around your practice space or stage with your guitar and cable plugged in. If the hum changes volume or character when you move, you're picking up EMI from something nearby. Common sources: computer monitors, dimmer switches, LED lights, power transformers, or stage lighting.
If you play single-coils, rotate your body and guitar in different directions. Single-coil hum is directional, and sometimes you can find a "quiet" angle where the interference cancels out. This isn't a fix, but it tells you the hum is pickup-related and not a cable or grounding issue.
Why Cable Quality Matters More Than You Think
Let's talk about what actually makes a cable good or bad, because this is where a lot of confusion lives. A guitar cable has a simple job: carry your signal from point A to point B without adding noise, losing high frequencies, or breaking. But the way cables are constructed has a massive impact on whether they can actually do that job.
**Shielding:** This is the single most important factor in hum rejection. A quality cable uses dense, overlapping braided or spiral shield that covers 95% or more of the inner conductor. Cheap cables use sparse shielding (sometimes as low as 60% coverage) or foil shielding that tears and degrades over time. The gaps in cheap shielding let electromagnetic interference right through.
**Capacitance:** Every cable acts like a tiny capacitor, and higher capacitance loads down your signal and rolls off your high end. Long, cheap cables with poor dielectric materials can have 200 picofarads per foot or more. That doesn't sound like much, but a 20-foot cable at 200pF per foot gives you 4,000pF of capacitance sucking the life out of your tone. Quality cables like Mogami W2524 or Canare GS-6 run around 30-35pF per foot, which is imperceptible even at long lengths.
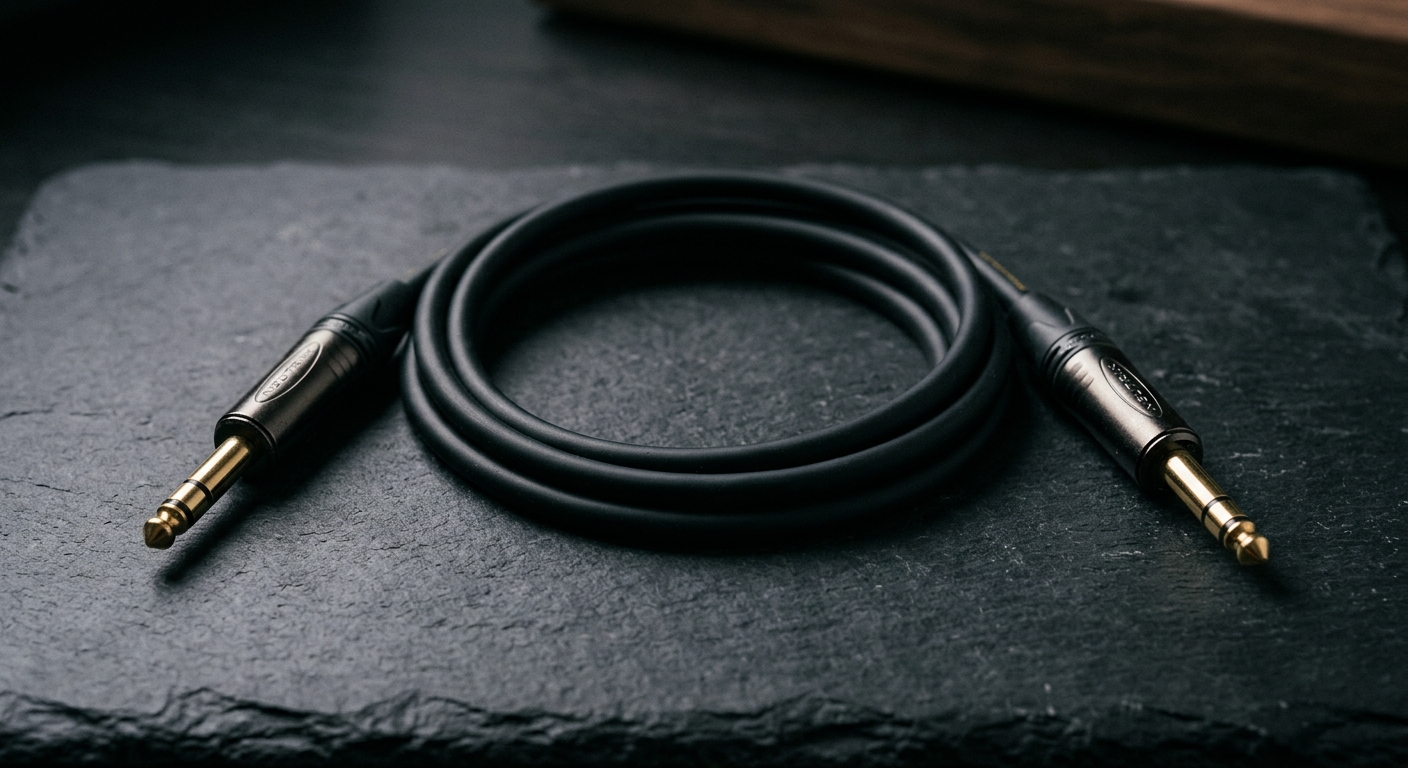
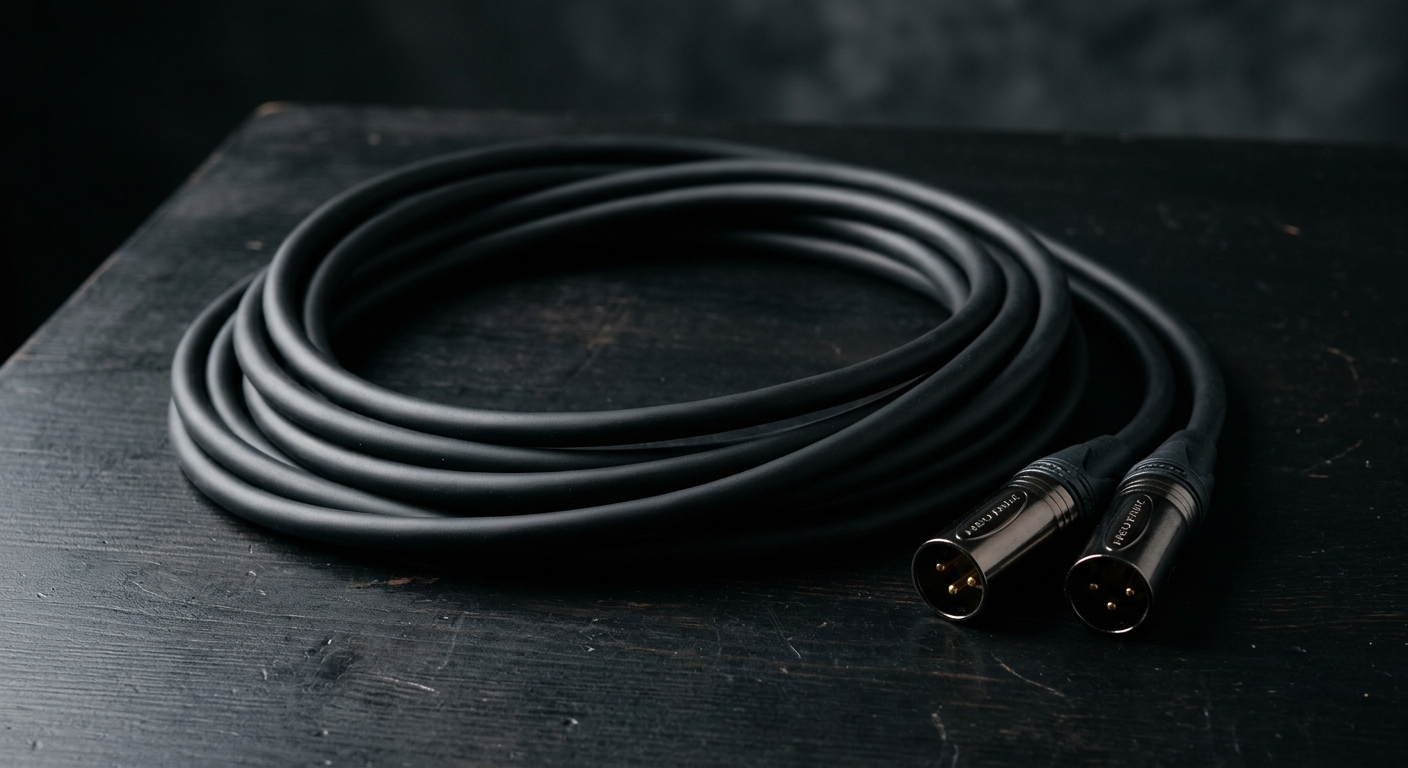
**Connector Quality:** The plug at the end of your cable matters just as much as the wire. Cheap connectors use thin contact springs that lose tension, solder joints that crack with repeated flexing, and housings that don't properly grip the cable jacket. When the shield connection at the connector breaks or becomes intermittent, you get hum, crackling, and dropouts. Quality connectors like Neutrik and Amphenol are designed for thousands of plug cycles and use strain relief that actually works.
How to Tell If Your Cable Is the Problem
You don't need fancy test equipment. Here's the field test I've used on countless gigs:
**The Swap Test:** Keep one cable you absolutely trust (a known-good reference) in your gig bag at all times. When you hear hum, swap in the reference cable. If the problem goes away, your original cable is bad. Replace it.
**The Wiggle Test:** With your rig turned on and at volume, wiggle the cable connector at both ends while listening. If you hear crackling, popping, or the hum changing, the connector has a bad connection. The cable is done.
**The Flex Test:** Flex the cable along its length, especially near the connectors where stress damage happens. Listen for crackling or signal dropouts. A good cable should be completely silent no matter how you flex it.
**The Length Test:** Long cable runs (over 20 feet) will exaggerate any problems. If you hear hum with a 25-foot cable but not with a 10-footer of the same model, your cable either has inadequate shielding or high capacitance. Get a better cable, or keep your runs shorter.
What a Quality Cable Does Differently
Let's look under the hood of a properly constructed instrument cable and see what separates it from the junk.
**Mogami W2524 Construction:** This is the cable I spec for almost every application. It uses a 20AWG oxygen-free copper center conductor for low resistance and excellent high-frequency response. The dielectric is cross-linked polyethylene, which gives you that low 33pF per foot capacitance. The shield is 95% coverage spiral copper, terminated at both ends with zero chance of intermittent connection. The outer jacket is flexible PVC that doesn't get stiff in the cold or crack with age.
**Canare GS-6 Construction:** Another excellent choice, especially for longer runs. Canare uses a slightly different shield design (braided instead of spiral) that some techs prefer for its mechanical durability. The capacitance is similarly low at 36pF per foot, and the cable is notably flexible even in 50-foot lengths.
**What Both Have in Common:** Proper strain relief at the connectors, high-quality solder (not cold joints that will crack), shielding that's actually soldered to the connector shell (not just crimped), and jackets that can survive thousands of coiling cycles without damage. When you buy Forever Cables, this is exactly what you're getting: Mogami or Canare wire, Neutrik or Amphenol connectors, and hand-soldered terminations that are inspected before they ship.
We don't cut corners, because we know you can't hear the price tag once the cable is in use. You can only hear whether it works or it doesn't. And because we back everything with a lifetime guarantee, we have every incentive to build cables that last decades, not months.
Pedalboard-Specific Hum Sources
Pedalboards are hum factories if you're not careful. Here are the common mistakes:
**Daisy-Chaining Power:** Connecting multiple pedals to a single power supply output via a daisy-chain cable creates ground loops between pedals and forces them to share a ground reference. Digital pedals (delays, modulation, etc.) draw inconsistent current that causes voltage sag and injects noise into the power rail. Use an isolated power supply where each output is electrically separated. The extra cost is worth it.
**Mixing Isolated and Non-Isolated Supplies:** If you run some pedals off an isolated supply and others off a wall-wart, you've just created a ground loop. Commit to one approach.
**Poor Quality Patch Cables:** The same rules apply to patch cables as instrument cables: shielding, capacitance, and connector quality matter. Cheap flat-style patch cables with molded connectors are almost always terrible. The shielding is minimal, the connectors are flimsy, and they radiate noise between pedals. Use quality low-profile patch cables with actual shielding.
**Running Audio Cables Parallel to Power:** On your board, keep your audio signal path physically separated from your power cables. When you run an instrument cable right next to a power supply or AC adapter, it picks up hum from the magnetic field around the power cable. Cross them at 90 degrees if you have to, but never run them parallel for more than an inch or two.
**Pedals With Poor Grounding:** Some pedals, especially vintage or boutique designs, don't have proper internal grounding. When you add them to a board with properly grounded pedals, they can introduce hum. The fix is either to replace the pedal, have it modded by a competent tech, or isolate it with a buffer or isolated power output.
The Forever Cables Solution
Look, I've seen every kind of cable failure in 20 years of working on guitars. I've seen $5 cables that died in a week and "premium" cables that cost $80 and weren't any better. What I've learned is this: materials and construction matter, and shortcuts catch up with you.
That's why Forever Cables exists. We use the same wire and connectors that professional touring rigs and major studios depend on: Mogami W2524, Canare GS-6, Neutrik connectors, and proper hand-soldered terminations. We don't buy the cheapest bulk wire and mark it up with flashy branding. We build cables that solve the hum and noise problems we've spent decades diagnosing.
And because we build them right, we can stand behind them with a lifetime guarantee. If one of our cables ever develops hum, noise, crackling, or any other problem, we'll replace it. No questions, no receipt required, no time limit. We're not interested in selling you the same cable twice; we're interested in selling you a cable that works for as long as you play guitar.
Check out our product lineup to see what's available, or read our frequently asked questions if you want to know more about what makes our cables different. And if you're still not sure whether a cable is causing your hum, our lifetime guarantee means there's zero risk in finding out.
Final Thoughts
Hum and noise are solvable problems, but you have to approach them systematically. Start with the simplest test (swap your cable), rule out the obvious causes (bad connections, cheap cables, ground loops), and work your way through the signal chain until you find the culprit. Most of the time, it's a cable that's either low-quality or damaged.
When you replace that cable, don't make the same mistake twice. Invest in properly constructed cables with real shielding, low capacitance, and quality connectors. The difference between a $10 cable and a $30 cable is the difference between hum and silence. And when you're in the middle of a session or a gig, silence is priceless.
If you've been chasing hum for months, swapping cables and pedals and getting nowhere, take a breath and start over with the diagnostic process in this guide. I've used it hundreds of times, and it works. Identify the type of noise, isolate the source, fix the root cause, and then get back to playing guitar instead of troubleshooting it.
Your tone is worth protecting. Start with cables you can trust.
Built for This
Forever Cables are hand-soldered with Neutrik connectors on Canare GS-6 or Mogami W2524 wire, backed by a lifetime guarantee. If a cable ever develops hum, noise, or any other problem, we replace it. No questions, no time limit.
Stay in the loop
New gear guides, limited promos, and launch updates. No spam.