Guitar Pedal Signal Chain Order: How to Arrange Your Effects for the Best Tone
You could own the best pedals on the market and still get a muddy, noisy, or lifeless sound if your signal chain is in the wrong order. The sequence your guitar signal passes through effects matters as much as the effects themselves.
This guide covers the standard signal chain order that most professional guitarists and studio engineers rely on, why each pedal type goes where it does, and where you can bend the rules when you know what you are doing.
What Is a Guitar Signal Chain?
Your signal chain is the complete path your guitar signal takes from the moment it leaves your pickups to the moment it reaches your speaker. Every cable, every pedal, every connection point in that path is part of the chain.
In a simple setup, the chain is short: guitar, cable, amp. Add a pedalboard and the chain gets longer. Guitar, patch cable, tuner, patch cable, overdrive, patch cable, delay, patch cable, amp. Each link in that chain either preserves or degrades the signal. The order of the links determines how the effects interact with each other.
Get the order right and your effects sound clear, musical, and dynamic. Get it wrong and you get noise, mush, or effects fighting each other for control of the signal.
The Standard Pedal Order (and Why It Works)
There is no single correct pedal order, but there is a standard starting point that works for the vast majority of setups. Here is the chain from guitar to amp:
1. Tuner. First in the chain so it receives a clean, unprocessed signal. Chromatic tuners track pitch more accurately when they are not trying to read a signal that has been colored by gain or modulation.
2. Filters and wah. Envelope filters and wah pedals respond to your pick dynamics. They need to see the raw signal from your guitar to respond naturally. Put them after distortion and they react to the compressed, clipped signal instead, which kills their expressiveness.
3. Compressor. Evens out your dynamics before the signal hits gain stages. Placing it here means your drive pedals receive a more consistent input level, which makes their response more predictable.
4. Overdrive, distortion, and fuzz. Your gain section. These pedals clip the signal to create harmonic distortion. Stacking multiple drives is common; the general rule is lower gain before higher gain, though many players reverse this intentionally for different textures.
5. Modulation. Chorus, phaser, flanger, tremolo, and similar effects. These work by duplicating and altering the signal in various ways. Placing them after drive means they modulate the already-distorted signal, which usually sounds smoother and more musical than driving a modulated signal into distortion.
6. Delay. Time-based repetition of your signal. After modulation so the repeats include your modulated tone. Putting delay before drive means the echoes get distorted, which creates a washy, indistinct sound (sometimes desirable, but not the default).
7. Reverb. Simulates room reflections. Last in the chain (or in the effects loop) because reverb applied to a clean, fully processed signal sounds the most natural and spacious.
The Effects Loop: When and Why to Use It
Most modern amps have an effects loop: a send/return connection that inserts effects between the preamp and power amp stages. If you are using your amp's built-in overdrive (by cranking the gain), the effects loop lets you place time-based effects (delay, reverb) after the amp's distortion stage.
Without an effects loop, all your pedals sit in front of the amp. That means delay and reverb are being fed into the amp's preamp distortion, which can make them sound muddy and indistinct at higher gain settings.
The typical split: drive, compression, wah, and filters go in front of the amp. Modulation, delay, and reverb go in the effects loop. This gives you the best of both worlds: your gain pedals interact naturally with the amp's input, and your time-based effects process the fully distorted signal cleanly.
The cables connecting your effects loop matter. You need a cable from the amp's send jack to the first pedal in the loop, and another from the last pedal back to the amp's return jack. Signal degradation in the loop affects every effect in it, so use quality cables with proper shielding.
When to Break the Rules
The standard order is a starting point, not a law. Many iconic guitar sounds come from deliberately breaking convention.
Fuzz before wah creates a thick, synthy quality that some players prefer over the cleaner wah-before-fuzz approach. Delay before drive produces a lo-fi, ambient wash that works well for shoegaze and experimental styles. Reverb into overdrive creates a saturated, washed-out pad effect.
The key is understanding why the standard order exists so you know what you are trading away when you deviate. If you put compression after drive, you lose the dynamic leveling that makes drives respond consistently. That might be fine if you want a more dynamic, touch-sensitive response from your gain pedals.
Experiment intentionally. Move one pedal at a time and listen for the difference. Once you understand what each position change does to your tone, you can make informed decisions about your chain.
Cables in the Signal Chain: The Links Between the Links
Every connection between pedals is a cable, and every cable is either preserving your signal or degrading it. On a pedalboard with eight pedals, you have at least nine cable connections in your signal path. The cumulative effect of those cables is real.
Capacitance is the main concern. Every cable adds capacitance to the chain, and capacitance rolls off high frequencies. Low-capacitance cable (like Canare GS-6) preserves more treble and articulation. Cheap, high-capacitance cable eats your highs before the signal even reaches your amp.
Connector quality matters too. A loose or oxidized connection introduces intermittent signal dropout, crackling, or noise. On a board with many connections, one bad joint can be difficult to diagnose because the symptoms come and go.
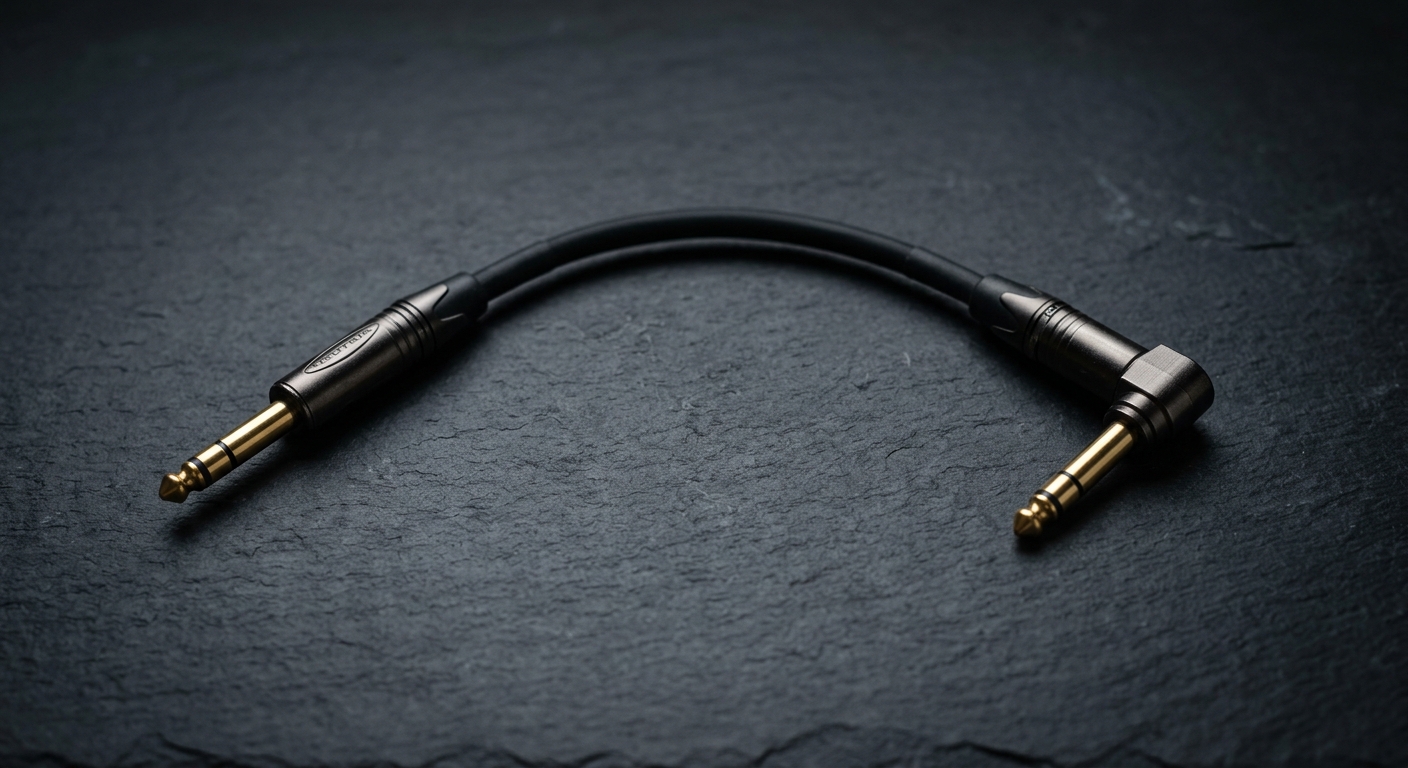
Keep patch cables as short as your layout allows. Shorter cables mean less total capacitance, less potential for noise pickup, and a cleaner board layout. Right-angle connectors help keep cables flat against the board surface and reduce strain on pedal jacks.
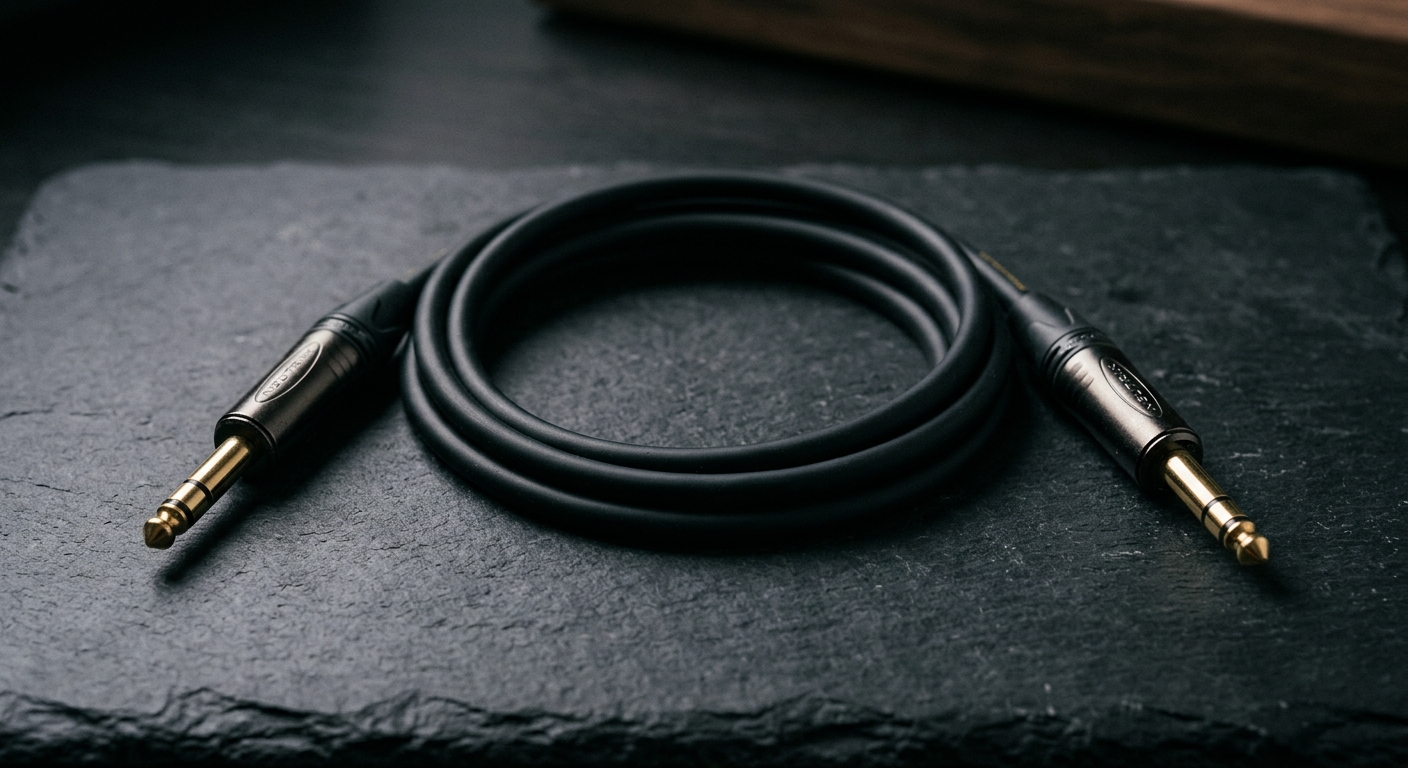
For the cables connecting your guitar to the board and the board to the amp, quality matters even more. These are your longest cable runs and carry the full unprocessed signal (in the case of the input cable) or the fully processed signal (output cable). Using premium instrument cable wire with Neutrik connectors and hand-soldered joints ensures the signal stays clean from end to end.
Common Signal Chain Mistakes
Noise floor stacking: every pedal adds a small amount of noise to the signal. If your gain pedals are amplifying noise from pedals earlier in the chain, the noise floor climbs quickly. Keep noisy pedals (vintage fuzz, certain modulation effects) as close to the amp as practical, and use a noise gate after your gain section if needed.
Impedance mismatch with fuzz pedals: many classic fuzz circuits (Fuzz Face, Tone Bender) are designed to see the impedance of a guitar pickup directly. Putting a buffer (like the one in most modern tuners and compressors) before them changes their behavior dramatically, often making them sound thin or harsh. If you use a vintage-style fuzz, try it first in the chain, directly after your guitar.
Forgetting the power supply: ground loops and noisy power supplies create hum and buzz that gets amplified through the whole chain. An isolated power supply eliminates ground loops between pedals. This is a signal chain issue that has nothing to do with pedal order but affects your tone just as much.
Using cables that are too long: excess cable length on a pedalboard adds unnecessary capacitance and creates a mess that makes troubleshooting difficult. Measure your actual pedal spacing and use cables that fit.
Building Your Chain: A Practical Approach
Start with the standard order. Plug in your pedals in the sequence listed above and play for a few days. Get familiar with how each effect interacts in that configuration.
Then start experimenting. Swap two adjacent pedals and listen carefully. Is the change better, worse, or just different? Some changes will be subtle. Others will be immediately obvious.
Document what works. Take a photo of your board layout and write down your signal chain order. When you rebuild your board or add a new pedal, you will have a baseline to return to.
Invest in the connections between your pedals, not just the pedals themselves. A board full of quality effects connected by unreliable cables will sound worse and fail sooner than a simpler board with solid cables throughout.
Built for This
Forever Cables patch cables use Canare GS-6 wire and Neutrik connectors, hand-soldered and guaranteed for life. Keep your signal chain clean from pedal to pedal.
Stay in the loop
New gear guides, limited promos, and launch updates. No spam.