How to Organize Your Pedalboard Cables: A Complete Guide to Clean, Quiet Cable Management
Written by the LiferLine team with the help of AI research
The Real Cost of Messy Cables
Tangled cables are more than an aesthetic problem, in our opinion. When audio cables run alongside or across power cables, they pick up electromagnetic interference, the kind that shows up as hum or buzz in your signal. Guitar instrument cables are unbalanced, carrying signal on a single conductor without a noise-canceling return path, which makes them susceptible to interference if you route them poorly. According to Premier Guitar, unbalanced cables transmit cleanly up to approximately 20 feet under good conditions, but proximity to power cables shortens that effective clean range considerably.
Unfortunately, messy wiring also makes diagnosis nearly impossible under pressure. Tracing a crackle or an intermittent signal loss through a tangle of unlabeled cables is frustrating and slow, especially in the middle of a session or a gig. A clean board, by contrast, lets you trace any signal path instantly, swap the suspected cable, and get back to playing.
Starting Fresh: The Clean Slate Method
In our view, the most efficient way to fix a messy pedalboard is to start over completely. Unplug everything, pull all the cables, and take the pedals off the board. Then, before you reconnect anything, spend five minutes sketching a simple diagram: pedal positions, signal flow arrows from input to output, and where your power supply sits. That diagram becomes your wiring blueprint.
Resist the temptation to just rehome one cable at a time; that approach keeps most of the existing problems in place. A fresh start lets you choose the correct cable length for each connection, plan clean routing paths, and set up separate lanes for audio and power from the beginning. The extra twenty minutes it takes pays for itself the first time you need to troubleshoot a problem in a hurry.
The Tools You Need
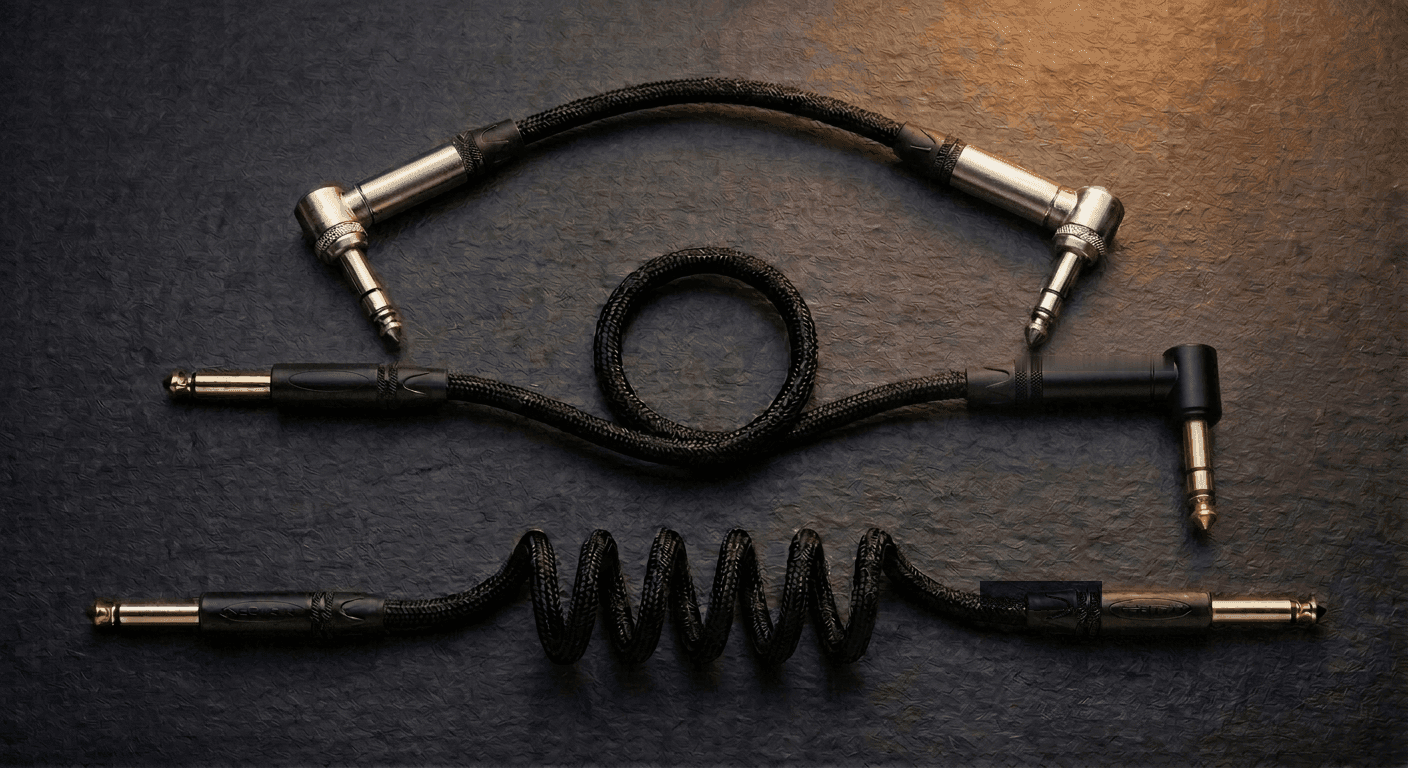
Organizing a pedalboard properly takes a few inexpensive tools: a flexible tape measure or a piece of string for measuring jack-to-jack distances along the actual routed path, a label maker or a marker and tape for identifying cables, and Velcro cable ties for bundling and securing runs. We'd also call right-angle patch cables essential; they keep connector profiles low and remove the strain a straight cable puts on your pedal jack.
If you don't already have exact-length patch cables, this is the time to measure and order them. Skip the generic-length cables where you can. A cable that's 6 inches too long turns into a loop of excess that lies against other cables and power supplies, creating clutter and potential interference. We think the investment in correct-length cables pays off immediately in a cleaner, quieter board, and it's one reason we build every patch cable to the length a customer actually needs rather than selling a fixed set of sizes.
Step-by-Step Wiring Walkthrough
Mount all your pedals in their final positions. Then, working from the first pedal in your signal chain to the last, connect each pedal in sequence: output of pedal one to input of pedal two, and so on down the line. Route each cable along the board's surface or edge, not across the center where it'll cross other cables. Keep every cable taut enough to avoid loops, but not so tight that it strains the connectors.
Leave all your cables loose but correctly positioned as you go, and don't secure anything yet. Run the audio cables first, then route your power cables separately, ideally underneath the board or along a different edge. Only after every cable is in its intended position should you start securing them with cable ties. This order lets you catch routing problems before they get locked in for good.
Separating Power from Audio
Running power cables alongside audio cables is, in our experience, the single most common source of noise on a pedalboard. Power supplies and their cables emit electromagnetic fields, and when an unshielded audio cable runs parallel to one, those fields can induce a low-level hum into your signal. The fix is physical separation: route power cables underneath the board and audio cables on top, or at minimum keep them crossing at 90-degree angles instead of running parallel.
Many modern pedalboards come with integrated power supplies and dedicated cable channels underneath the board surface, a design feature built precisely to keep power and audio paths separated. If your board doesn't have that, mounting a standalone power supply to the underside or back edge of the board and running its DC cables under the surface gets you the same separation.
Labeling for Long-Term Sanity
Label every cable at both ends immediately after you connect it. The label should identify the cable's function ('tuner out,' 'delay to reverb,' 'effects loop send') or its length. A label maker produces clean, durable results, but a marker on a small piece of tape wrapped around the cable body near each connector beats no label at all by a wide margin. Labels at both ends matter because either end can be out of view when you're tracing a problem.
Once everything is connected, tested, and secured, photograph the finished board from the top and from underneath. Store those photos somewhere accessible; a phone photo album or a notes app works fine. Weeks or months later, when you're adding a pedal or replacing a cable, that reference makes it easy to restore the original routing instead of rebuilding it from memory.
Keeping It Clean Over Time
We recommend Velcro cable ties over zip ties for securing your cable runs. Velcro ties are fully reusable: when you add a pedal, change a cable, or adjust a route, you just unfasten and refasten without cutting anything. You have to cut zip ties every time you change something, and their sharp ends can nick a cable jacket if you don't clip them precisely flush. A pedalboard evolves over time (they all do), and for that reason, Velcro ties are the clear practical choice.
Every few months, or whenever you add or remove a pedal, take ten minutes to audit the board: check that all cable ties are snug, that no cables have drifted into a power cable's path, and that every label is still legible. A maintained board performs consistently, and it's ready for a quick diagnosis the moment something goes wrong.
Built for This
We build Forever Cables in multiple lengths to fit your exact pedalboard layout. We hand-solder every one with Mogami wire and Neutrik connectors, and back it with our Forever guarantee.
Stay in the loop
New gear guides, limited promos, and launch updates. No spam.
References
- Wikipedia: Guitar pedalboard, Modern pedalboards often have integrated power supplies; hook-and-loop fasteners are a standard mounting and cable management method.
- Premier Guitar: What's the Buzz with Balanced and Unbalanced Cables, Unbalanced cables transmit cleanly up to approximately 20 feet; susceptible to electromagnetic interference when near power cables.
- Wikipedia: Electromagnetic shielding, Power cables emit electromagnetic fields that can induce noise in adjacent unshielded audio cables.