Guitar Pedalboard Plans: How to Plan, Build, and Set Up Your Board
A pedalboard is more than a surface to stick pedals on. It is a system. The board you choose, the way you arrange your pedals, how you route your cables, and where you mount your power supply all work together to determine whether your rig is fast to set up, quiet in operation, and reliable on stage.
This guide walks through the entire planning process: sizing your board, arranging your pedals, routing cables, managing power, and building a board that stays clean and functional for years.
Step 1: Count Your Pedals and Measure Them
Before you choose a board size or start arranging pedals, you need real measurements. Take every pedal you plan to use and measure its footprint in inches (width and depth). Include the space needed for jacks on each side, since some pedals have top-mounted jacks and some have side-mounted jacks that extend the effective footprint.
Write down each pedal name, its width, its depth, and whether the jacks are on the top, sides, or both. This list is your planning document. It tells you how much total surface area you need and which pedals will have clearance issues next to each other.
Add at least one or two empty slots for future pedals. Every guitarist adds pedals over time, and having space planned in from the start saves you from rebuilding the entire board six months later.
Step 2: Choose Your Board Size
Pedalboards come in four rough size categories. A mini board (roughly 14 by 5 inches) holds three to five small pedals and fits in a backpack. A small board (roughly 18 by 6 inches) holds five to eight pedals and covers most home and practice setups. A medium board (roughly 24 by 12 inches) handles eight to fifteen pedals and is the workhorse size for gigging musicians. A large board (roughly 32 by 16 inches or bigger) is for players running complex rigs with twenty or more pedals, switchers, and multiple power supplies.
Choose the smallest board that fits your current pedals plus a little room for growth. Bigger boards are heavier, take up more stage space, and require longer cable runs between pedals. Every extra inch of cable adds capacitance that can dull your high end.
If you are building a DIY board from wood or aluminum, add one inch of clearance on each side beyond your pedal layout. This gives you room for edge-mounted connectors, cable routing underneath, and velcro strips that do not hang over the edge.
Step 3: Plan Your Pedal Layout
Arrange your pedals on a flat surface in signal chain order before you attach anything to the board. Start with the pedals that go first in your chain (tuner, wah, compressor) on the right side of the board if you are right-handed, since your guitar cable plugs in on that side. End with time-based effects (delay, reverb) on the left side, closest to your amp output.
Place pedals you step on frequently (tuner, boost, drive) in the front row where your foot can reach them easily. Put set-and-forget pedals (compressor, EQ, always-on effects) in the back row where they are out of the way.
Check the spacing between pedals. You need enough room between footswitches to step on one without accidentally hitting another. Most players need at least one inch of clearance between switch caps. Side-mounted jacks need enough room for the cable connector to fit without bumping the neighboring pedal.
Right-angle patch cable connectors help significantly with tight spacing. A straight connector sticking out the side of a pedal can add an inch or more to the effective width, while a right-angle connector sits flush against the housing and lets you push pedals closer together.
Step 4: Plan Your Cable Routing
Cable routing is where most pedalboard builds go wrong. The goal is short, clean cable runs between pedals with no excess cable coiled up on the board surface. Every inch of extra cable adds capacitance and picks up more noise.
Measure the distance between each pair of pedals that need to be connected. Add about two inches per connection for strain relief and the space taken by the connectors themselves. This gives you the exact cable length you need for each run.
Route cables underneath the board whenever your board has clearance for it. Most commercial pedalboards have a raised surface with open space underneath, specifically for running cables and mounting power supplies. Use cable ties or adhesive cable clips to keep runs neat and separated from power cables.
Keep audio cables and power cables on opposite sides of the board or at least crossing at right angles. Running audio cables parallel to power cables over long distances introduces hum and buzz from electromagnetic interference.
Label your cables at both ends if you have more than six or seven connections. When something goes wrong at a gig, you need to identify and replace the problem cable in seconds, not minutes.
Step 5: Power Supply Placement
Mount your power supply underneath the board if possible. This keeps it out of the way, protects it from being stepped on, and frees up surface space for pedals. Most isolated power supplies come with mounting brackets designed for under-board installation.
If your board does not have clearance underneath, mount the power supply at the back edge of the board where it will not interfere with your foot access to switches.
Use an isolated power supply, not a daisy chain. Daisy chains share a ground connection between all pedals, which creates ground loops that cause audible hum. An isolated supply gives each output its own ground reference, eliminating this noise source. The cost difference is significant (a good isolated supply runs $80 to $200), but the noise reduction is worth it for any board with more than three or four pedals.
Plan your DC cable lengths just like your audio cables. Too-long DC cables drape across the board and get tangled with audio cables. Too short and they create tension on the jacks. Measure and use the right length.
Step 6: Build Your DIY Board (If Going Custom)
A DIY pedalboard can be built from pine, plywood, or aluminum for a fraction of the cost of a commercial board. The simplest design is two parallel rails cut from 1x3 pine, connected by cross braces at each end and one in the middle. Tilt the top rail higher than the bottom by using angled end pieces or longer legs at the back, giving you a slight incline that makes rear-row pedals easier to see and reach.
Sand all edges to prevent cable abrasion. If using wood, apply a coat of polyurethane or spray paint to seal the surface and prevent splinters. Drill holes at the back for cable pass-throughs so you can route audio and power cables from the top surface to underneath and back up.
For aluminum builds, use 1-inch aluminum angle stock from a hardware store. It is lightweight, strong, and will not warp. Bolt the pieces together with machine screws so you can disassemble and modify the frame later.
Whether commercial or DIY, attach industrial-strength velcro (hook side) to the board surface in rows. Put the loop side on the bottom of each pedal. This lets you rearrange pedals without any permanent mounting, which you will appreciate when you inevitably want to swap something out.
Step 7: Attach Everything and Test
With your layout planned and your board ready, stick your pedals down in order. Start from the back row and work forward so you are not reaching over already-placed pedals.
Connect your patch cables one at a time, following your signal chain from input to output. After connecting each pedal, power it on and test the signal through the chain so far. This way, if you have a bad cable or a connection issue, you know exactly which link in the chain caused it.
Once everything is connected and tested, play through your full rig for at least fifteen minutes. Step on every switch. Engage and bypass every pedal. Listen for pops, crackle, hum, or signal dropouts. These problems are much easier to diagnose and fix before everything is cable-tied and buttoned up.
Take a photo of your finished layout from above. This reference is invaluable when you need to rebuild the board after transport or when you are describing your rig setup to someone.
Common Pedalboard Planning Mistakes
Building too tight. Packing pedals with zero clearance looks clean in photos but makes the board impossible to work on. You cannot replace a cable, swap a pedal, or access a battery compartment without removing multiple neighboring pedals. Leave breathing room.
Ignoring cable quality. A board with twelve pedals has at least thirteen cable connections in the signal path. One cheap cable with a cold solder joint or a loose connector will cause intermittent problems that are maddening to diagnose. Use quality cables with solid connectors on every connection.
Skipping the layout step. Sticking pedals directly to the board without first arranging them on a flat surface leads to a layout that does not follow your signal chain efficiently. You end up with unnecessarily long cable runs that cross over each other, adding noise and making troubleshooting harder.
Forgetting input and output jacks. Your guitar cable plugs in on one side and your amp cable leaves on the other. If you do not plan where these entry and exit points are, you end up with cables draped across the front of the board where you step.
Why Cable Quality Matters More on a Pedalboard
A pedalboard multiplies cable connections. A simple five-pedal board has seven cable connections (guitar in, five inter-pedal connections, amp out). A twelve-pedal board has fourteen or more. Each connection is a potential point of failure and a potential source of noise.
The cumulative capacitance of all those cables affects your tone. Low-capacitance cable preserves your high-frequency detail across many connections. High-capacitance cable rolls off treble at each connection, and by the time the signal exits the board it can sound noticeably duller than your guitar direct into the amp.
Connectors matter even more than the cable itself at this scale. A connector that works fine on a single cable run might introduce intermittent contact issues when it is one of fourteen connectors in a signal chain. Stepped on, vibrated, and temperature-cycled hundreds of times, anything less than a properly soldered, mechanically solid connection will eventually fail.
This is exactly why hand-soldered patch cables with quality connectors and low-capacitance wire are worth the investment on a pedalboard. The reliability difference between a cheap cable kit and a properly built set of patch cables shows up not on day one, but six months into regular gigging when connections start failing one at a time.
Built for This
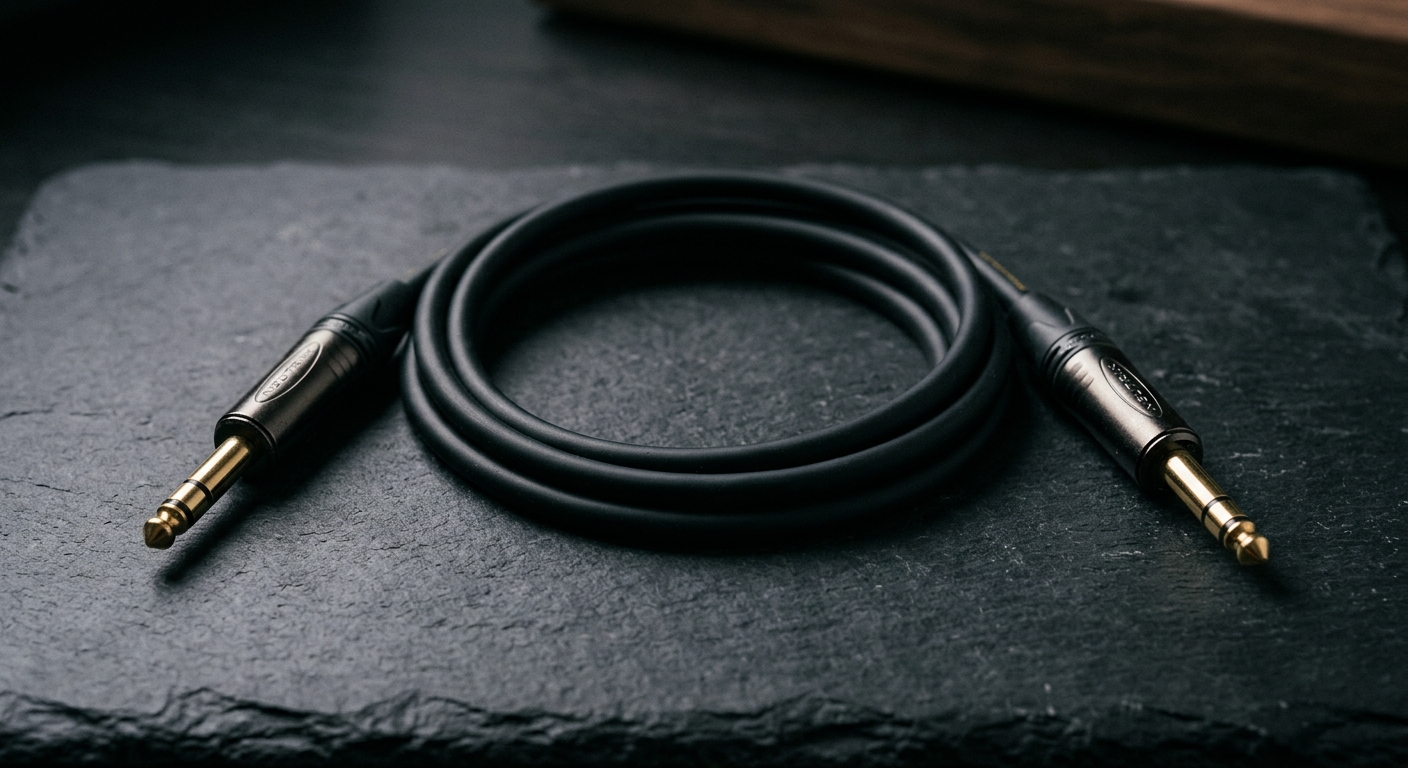
The Forever Cables Pedalboard Pack includes six hand-soldered patch cables (two 6-inch, two 12-inch, and two 18-inch) built with Canare GS-6 wire and Neutrik connectors. Every cable is backed by our lifetime guarantee. One pack, every length you need, built to outlast your board.
Stay in the loop
New gear guides, limited promos, and launch updates. No spam.