How to Organize Your Pedalboard Cables (And Keep Them That Way)
Pedalboard cable organization is one of those things that separates a rig that works reliably from one that fights you at the worst possible moment. A tangled board is not just ugly. It is a noise source, a troubleshooting nightmare, and a reliability problem waiting to surface mid-set.
The good news is that organizing your pedalboard cables is not complicated. It takes a bit of planning up front, the right approach to routing, and a few habits that keep things clean over time. This guide covers everything you need to get your cables under control and keep them that way, whether you are building a new board from scratch or cleaning up an existing one.
Start with the Right Cable Lengths
Pedalboard cable organization starts before you plug anything in. The single most effective thing you can do for a clean board is use patch cables that actually fit your layout.
Too-long cables create slack that has to go somewhere. That slack gets coiled up, stuffed between pedals, or draped across the board surface, where it tangles with other cables, picks up electromagnetic interference from nearby power supplies, and makes every future change harder. Too-short cables are worse in a different way: they pull on connector jacks, stress solder joints, and eventually fail at the connection point.
The fix is simple: measure each connection on your board and use a cable that fits with just enough slack to avoid tension. For side-by-side pedals on the same row, that is usually 3 to 6 inches. For same-row pedals with a gap between them, 6 to 12 inches. For cross-row runs on a multi-tier board, 12 to 24 inches depending on your board height and the actual routing path.
If you are not sure how to measure your runs, the process is straightforward. Use a piece of string to trace the actual path the cable will follow (around obstacles, through slots, over risers), mark both ends, and measure it. Round up to the nearest available cable length. A cable that is one inch too long is manageable. A cable that is one inch too short is a problem every time you set up.
Getting cable lengths right eliminates the number one cause of messy boards: excess cable with nowhere to go.
Pedalboard Cable Routing: The Top-Down Rule
Most commercial pedalboards have a raised surface with open space underneath. That space is there for a reason. It is your cable management system.
The top-down routing rule is straightforward: audio cables run underneath the board whenever possible, only surfacing at the connection points where they plug into pedals. The cable exits the output of one pedal, drops through the nearest gap or slot in the board surface, runs underneath to the next pedal, and comes back up through the gap closest to that pedal's input jack.
This approach does three things. First, it keeps the top surface clean and accessible. You can step on any switch without worrying about catching a cable under your foot. Second, it shortens the visible cable path and reduces the chance of cables getting snagged during transport or setup. Third, it physically separates audio cables from power cables running on the surface, which is the most effective way to reduce electromagnetic interference on a pedalboard.
If your board does not have gaps or slots for cable pass-through, you can route cables along the front or back edge of the board, secured with adhesive cable clips. The principle is the same: keep cables off the surface and out of the pedal footprint wherever possible.
Boards with solid surfaces (flat plywood or similar) are harder to route cleanly. If you are building or buying a board, prioritize one with rails, slots, or an open frame that allows underneath routing. It makes every aspect of pedalboard cable organization significantly easier.
Velcro, Zip Ties, or Cable Clips: What Actually Works
Once your cables are routed, you need something to hold them in place. Three common options exist, and each has real tradeoffs.
Adhesive cable clips are the most practical choice for most pedalboard builders. They stick to the underside of the board (or to the board rails) and hold individual cables in position without squeezing or deforming them. They are easy to reposition if you change your layout, do not damage cables, and allow you to remove and replace a single cable without disturbing the rest of your routing. The downside is that adhesive can lose grip over time in hot environments or under heavy vibration, so use clips rated for the task and check them periodically.
Velcro cable ties are useful for bundling groups of cables together along a shared run. They wrap around multiple cables and can be opened and reused as many times as you need. The advantage is flexibility: you can add or remove a cable from the bundle without cutting anything. The downside is that bundling audio cables tightly together can increase crosstalk between signals if the cables are not individually shielded. For patch cables built with proper braided shielding (like Canare GS-6 or Mogami wire), this is rarely an issue in practice. For unshielded or poorly shielded budget cables, keep runs separated.
Zip ties are permanent. They hold cables in place securely and will not come loose from vibration or heat. The problem is that they are not reusable. Every time you change a cable or swap a pedal, you have to cut zip ties and replace them. On a board that changes frequently, this gets tedious. On a board that is set and stable for months at a time, zip ties are the most reliable hold you can get.
For most players, a combination works best: adhesive clips for individual cable routing points, velcro ties for bundled runs underneath the board, and zip ties only for permanent connections like the power supply cable harness that you never plan to change.
Color-Coding Your Signal Chain
Color-coding is optional, but it becomes genuinely valuable on boards with more than six or seven pedals. When a dozen cables are routed underneath a board, identifying which one connects pedal A to pedal B is a real problem if they all look identical.
The simplest approach is colored cable ties or small strips of colored electrical tape wrapped around each end of a cable. Use one color per signal chain segment: one color for the input section (tuner, wah, compressor), another for the drive section, another for modulation, and another for time-based effects like delay and reverb. When you need to pull one cable for troubleshooting, you can identify it instantly without tracing the full run from end to end.
Some cable manufacturers offer patch cables in multiple jacket colors. If you are starting from scratch, buying cables in three or four colors and assigning each color to a section of your signal chain is the cleanest approach. It costs nothing extra and saves real time down the road.
Even a basic system saves time. Marking your input cable with a piece of blue tape and your output cable with red is enough to prevent the most common confusion when you are setting up quickly in a dark venue or troubleshooting under stage lighting. The two minutes you spend labeling save ten minutes of cable-tracing the next time something goes wrong.
Common Cable Organization Mistakes That Create Noise and Tension
The most common pedalboard cable organization mistake is running audio cables parallel to power cables over long distances. Electromagnetic interference from a power supply radiates outward and induces noise in any audio cable running nearby. The fix is separation: run audio cables and power cables on opposite sides of the board, or cross them at right angles when they must share a path. Parallel runs of more than a few inches are where hum and buzz problems start.
Tight bends at the connector are another frequent problem. Cables are not designed to make sharp 90-degree turns right where they exit the connector barrel. A sharp bend at that junction stresses the solder joint inside, and over time the joint fatigues and cracks. Leave a gentle curve of at least one inch from the connector before the cable changes direction. Right-angle connectors reduce this problem significantly because the cable exits parallel to the board surface instead of perpendicular to it.
Cable tension is a subtler issue that builds up slowly. A cable pulled taut between two pedals applies constant force to both connector jacks. That force is small, but over months of use it can loosen the jack from the pedal chassis or work the connector barrel slightly out of the jack. The result is intermittent signal dropout that is maddening to diagnose because it comes and goes depending on temperature, vibration, and the position of the cable. Leave a small amount of slack in every connection, just enough that the cable sits naturally without pulling.
Stacking multiple cables on top of each other at a single pass-through point creates a bottleneck that makes future changes nearly impossible without disturbing every cable in the stack. Spread your routing across multiple pass-through points on the board so no single point gets overcrowded.
Using mismatched cable quality across the board is a less obvious mistake. If you have nine quality patch cables and one cheap cable you threw in because it was the right length, that one cable is the weak link in the entire chain. It will be the one that introduces noise, develops a crackling connector, or fails at the worst moment. Use the same quality level across every connection on the board.
When to Re-Route vs. Start Over
Every pedalboard accumulates compromises over time. You add a pedal and route one cable a little too long because you did not want to buy a new length. You swap a pedal position and leave the old cable routing in place because it still reaches. Six months later, your board has three cables that are too long, two that cross over each other unnecessarily, and one connection you are not entirely sure about.
The question is whether to fix individual cables or tear everything down and rebuild from scratch. Here is a practical threshold: if you can fix the board by changing two cables or fewer, just fix those cables. If three or more cable routes need to change, or if you cannot trace every connection on the board without physically following each cable end to end, it is time for a full rebuild.
A full rebuild takes thirty to sixty minutes on most boards. Pull every cable, clean the board surface, and lay everything out fresh using the same planning process you used when you first built the board. Measure each connection, route cleanly underneath, and secure everything in place before testing.
Rebuilding once or twice a year is normal for active players who gig regularly. The board gets bumped around in transport, pedals shift on their velcro, and cables gradually settle into positions that differ from where you originally routed them. A periodic rebuild keeps everything tight and gives you a chance to inspect every cable and connection for wear.
When you rebuild, take the opportunity to evaluate whether any cables need replacing. A cable with a loose connector, a kink in the jacket, or a joint that crackles when you wiggle it is going to fail soon. Replace it during the rebuild, not during soundcheck.
Building the Foundation Right
The best pedalboard cable organization starts with cables that are built to stay organized. Stiff, bulky cables fight every bend and crowd the routing space under your board. Thin, flimsy cables route easily but will not hold their position and tend to creep out of clips over time. The cable itself is the foundation of the system.
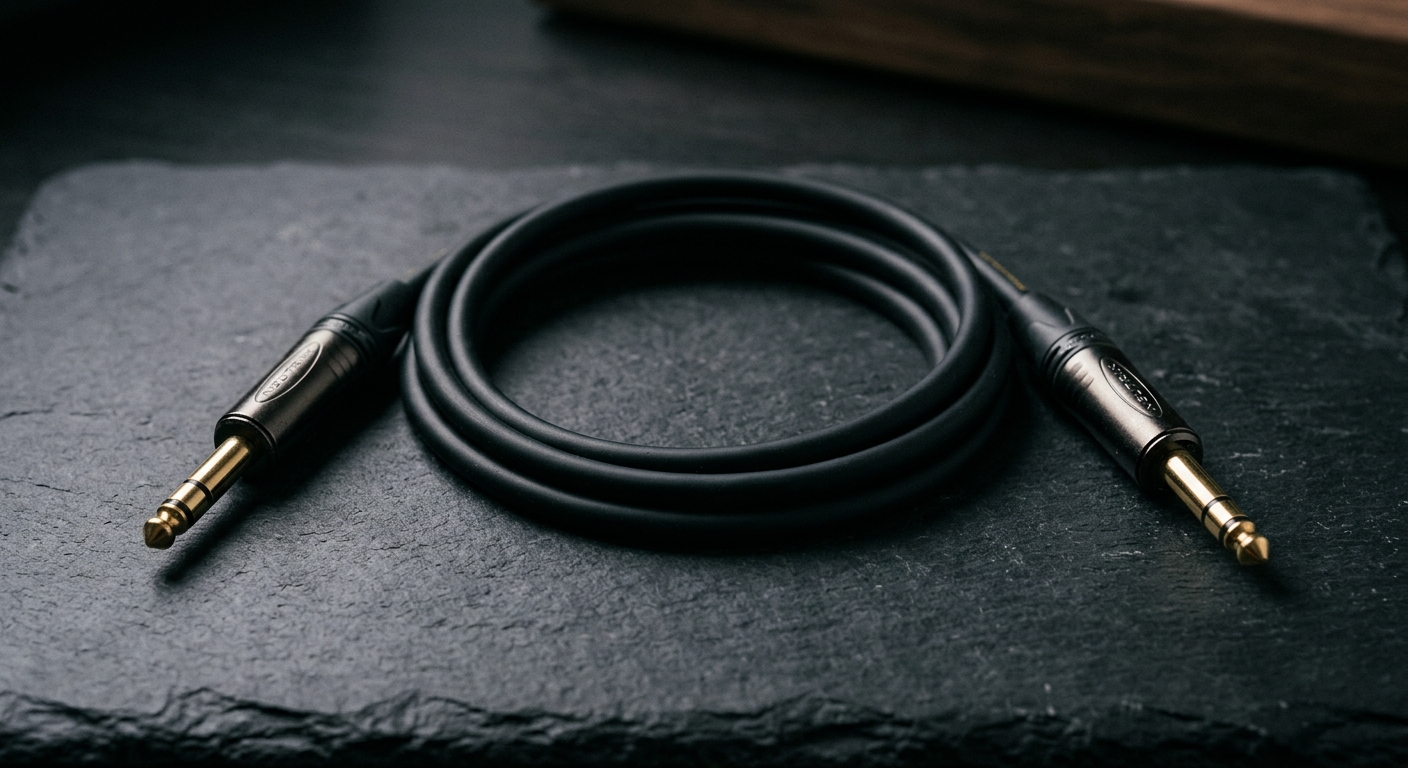
Forever Cables patch cables use Canare GS-6 wire, which strikes the right balance. The jacket is stiff enough to hold its routed position on the board without creeping or sagging, but flexible enough to navigate tight turns without stressing the connector. Right-angle connectors on the Right Angle model sit flush against the pedal housing, saving clearance and reducing the bend angle at the connection point.
Every Forever Cable is hand-soldered with Neutrik connectors and backed by a lifetime guarantee. If a cable ever fails, we replace it. That means the cables you organize your board with today are the same cables you will have five years from now. Organize once, play forever.
Built for This
Forever Cables patch cables are built with Canare GS-6 wire and Neutrik connectors, hand-soldered and guaranteed for life. Build your pedalboard on cables that last.
Stay in the loop
New gear guides, limited promos, and launch updates. No spam.